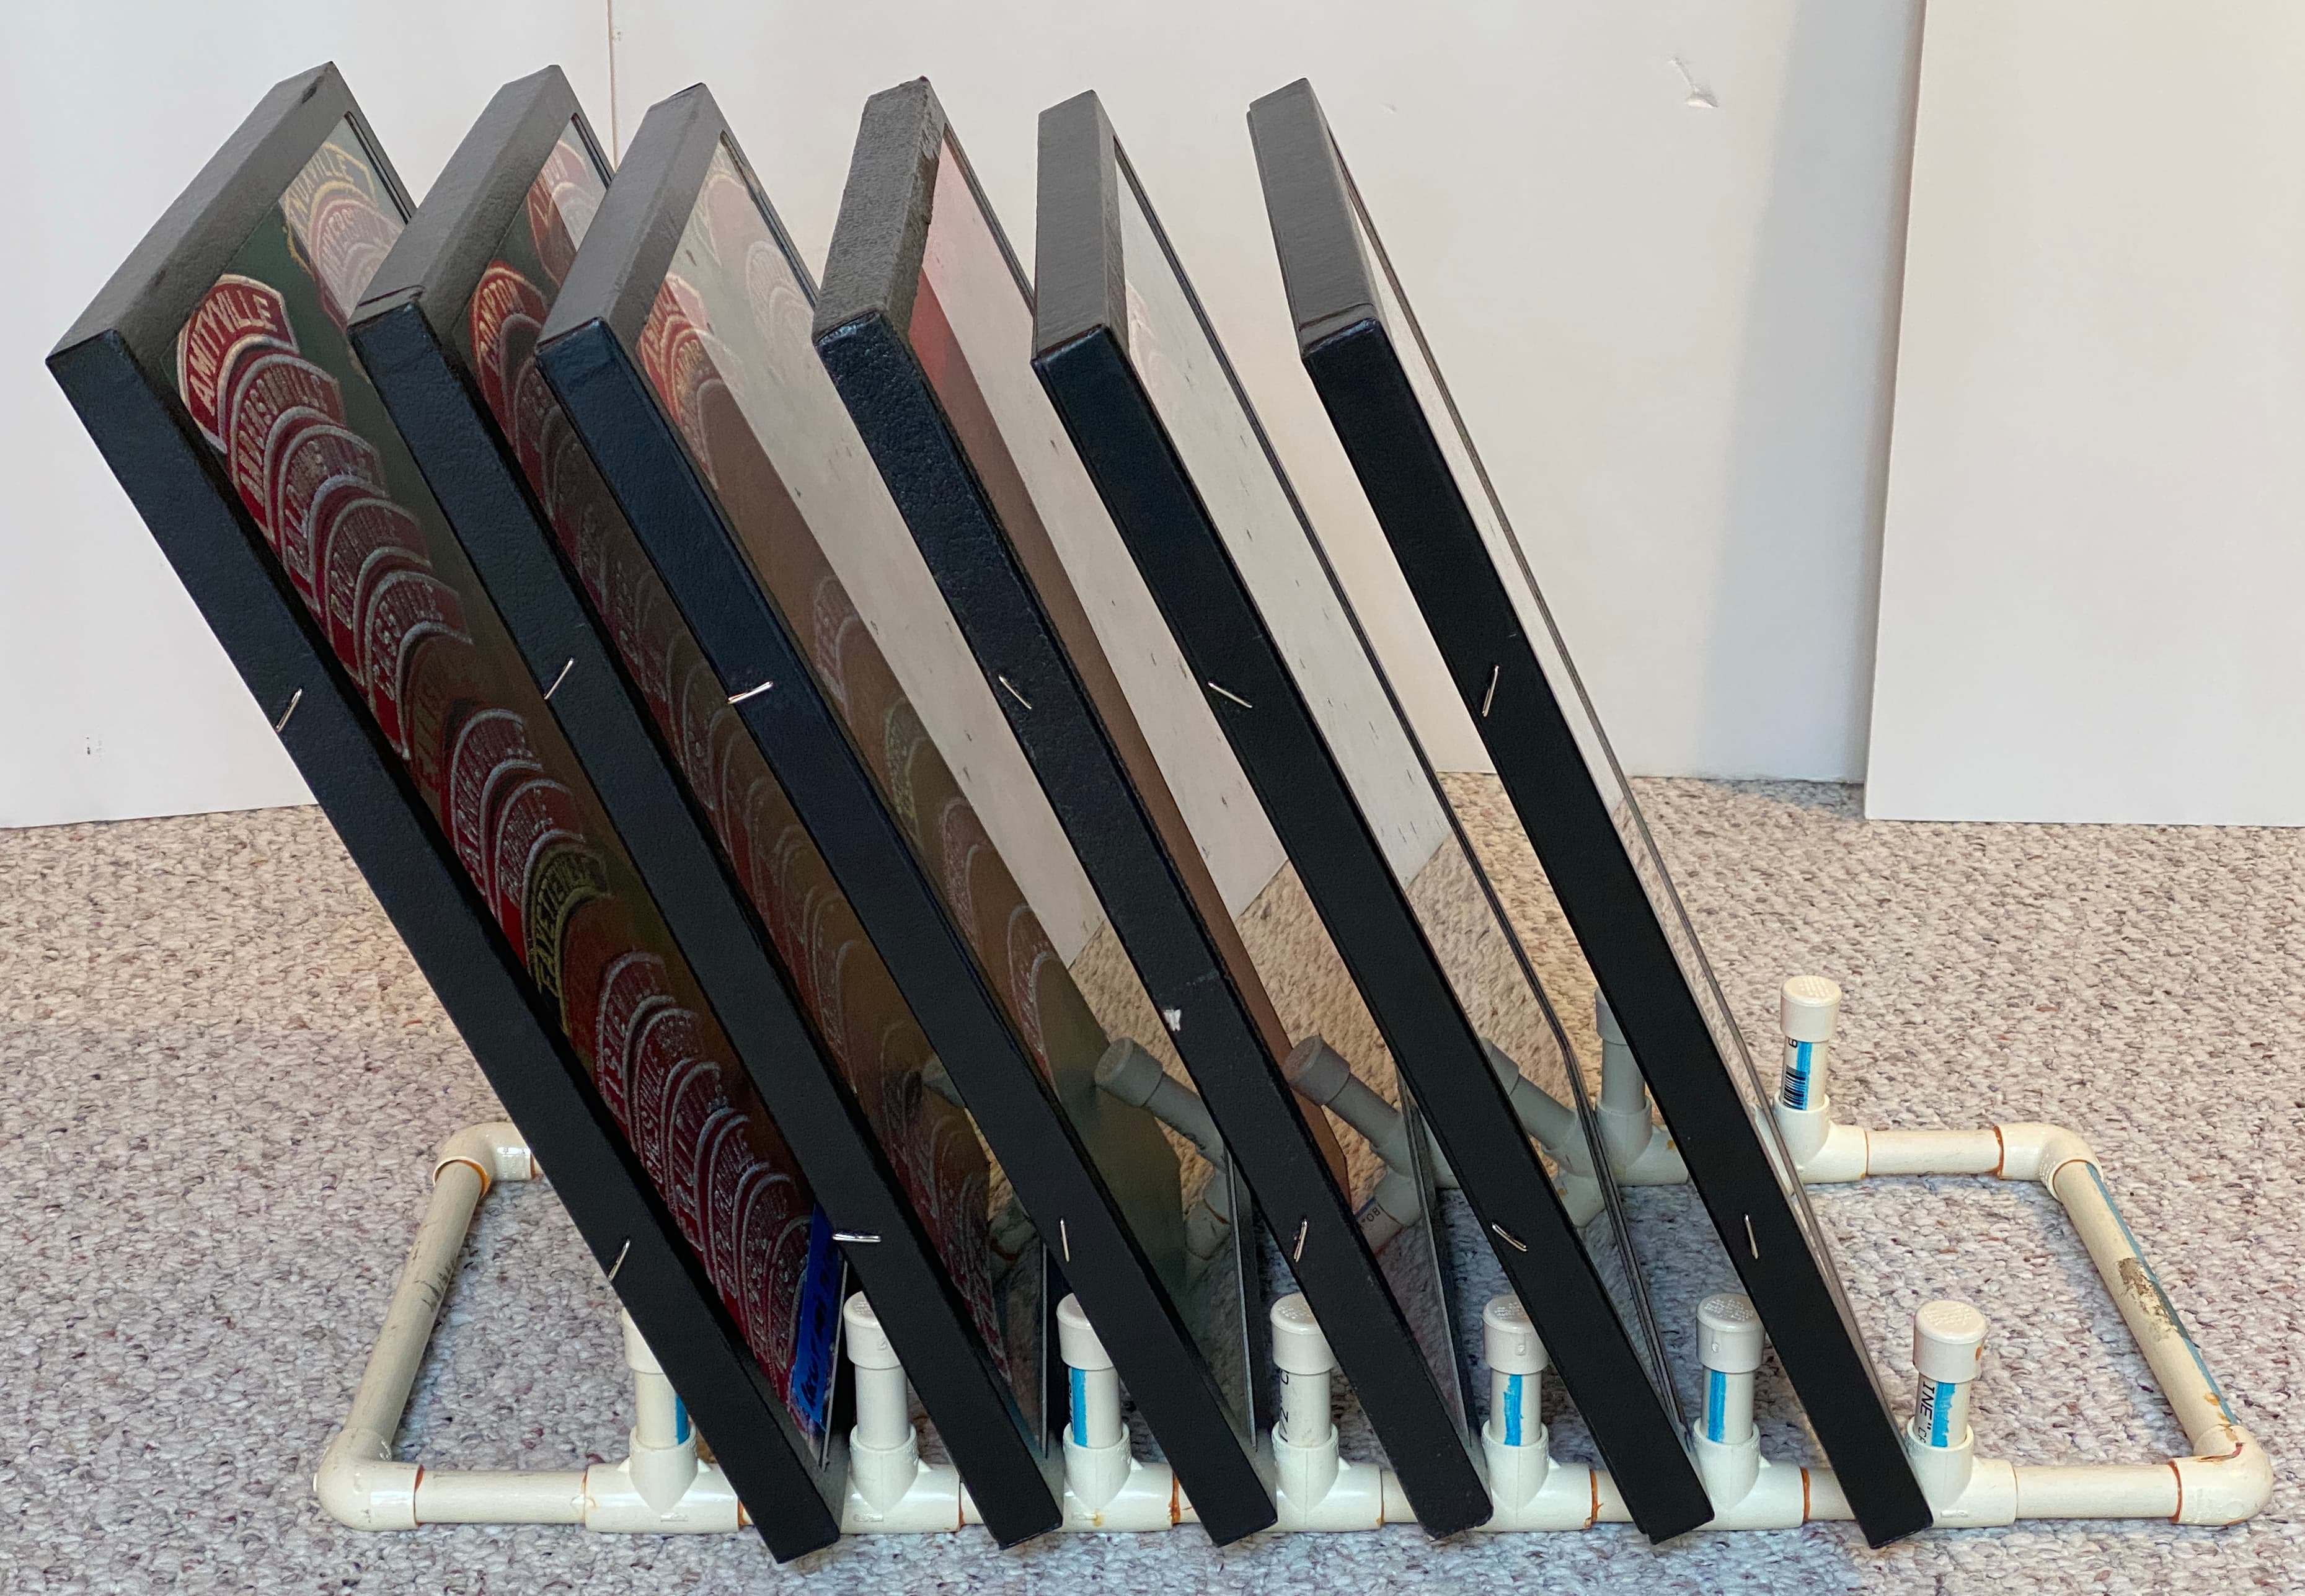
While at my first or second Milwaukee TOR over 20 years ago, I observed someone utilizing PVC stands for their Riker Mount frames. I noted at the time how sensible they seemed. They were light, seemed sturdy enough, and had a good viewing angle when one flipped through the frames.
The idea for these stands IS NOT original with me. If you know who created something like these, I am glad to give them credit. A few years later, I ran my first table at a TOR. I tried "dishracks" to hold my frames. There was not much flipping angle at all and visibility was difficult for most of the frames. Admittedly, if one pulls the frame upwards to view them individually, then dishracks are just fine. Before my next TOR, I took the time to build my first set of 4 racks. Holding 6 frames each, that meant 24 frames of "for sale" items could be displayed. A number of years later, I needed another four stands so I built another batch. I took these pictures while building this most recent set.

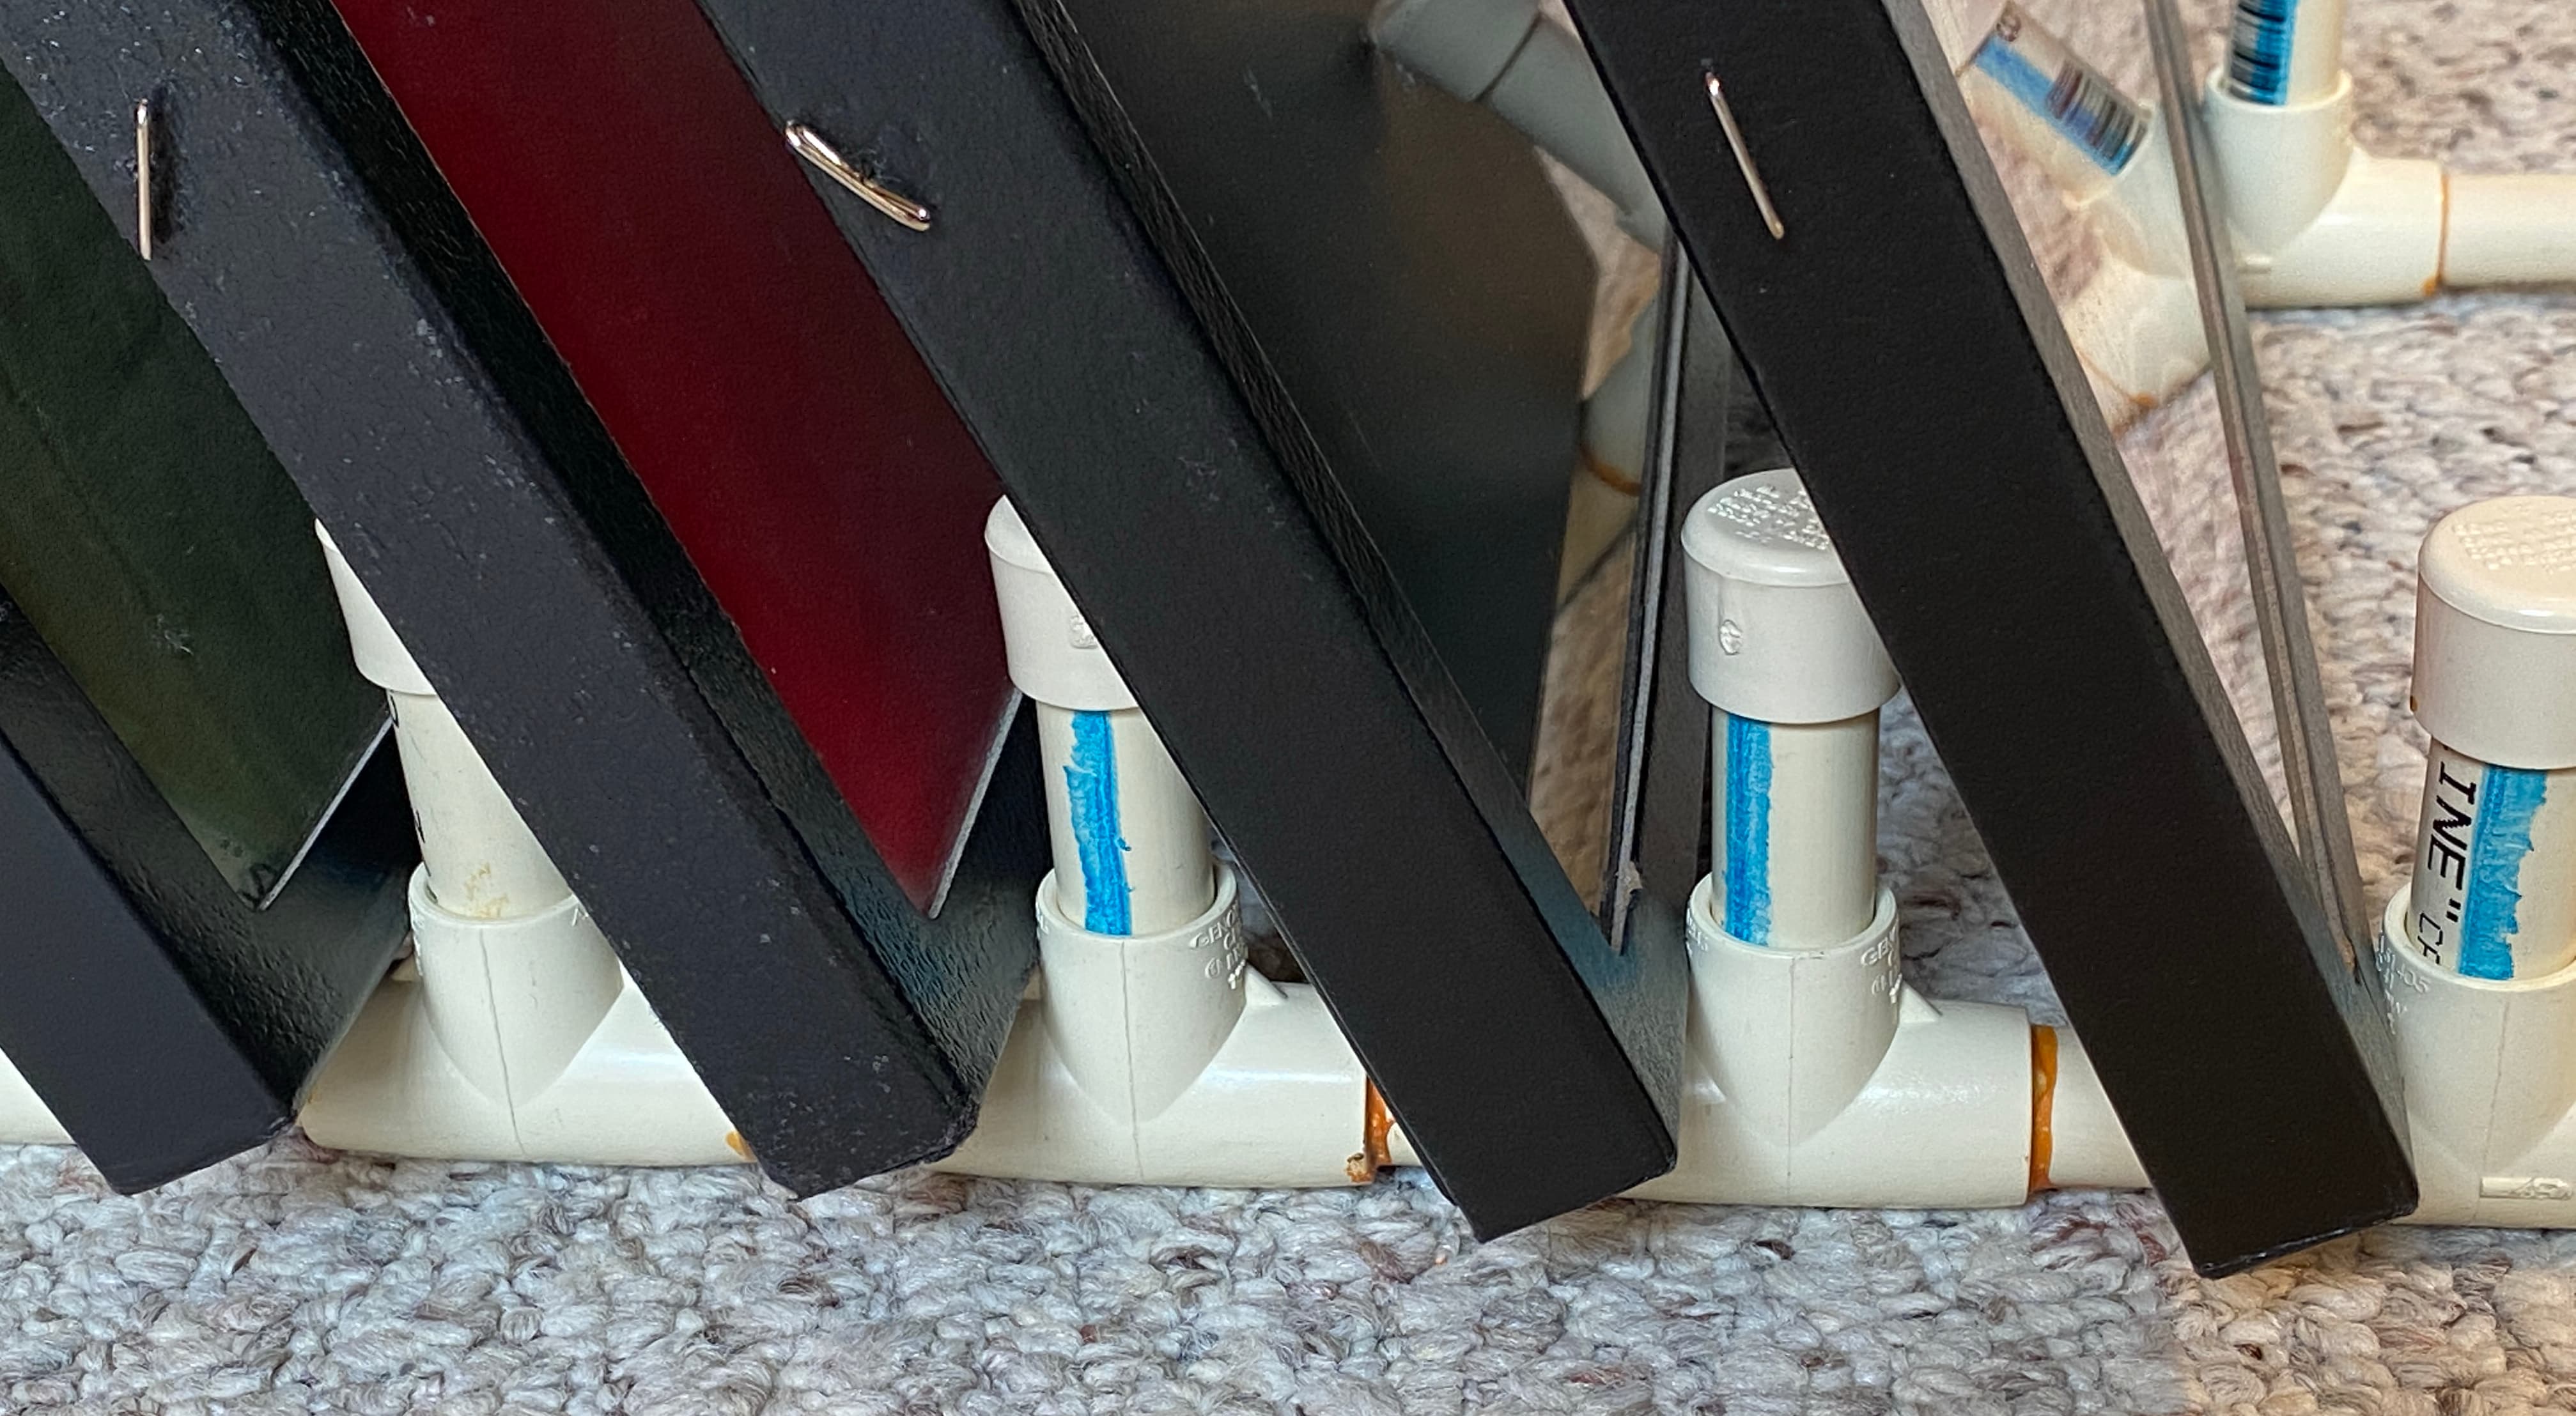
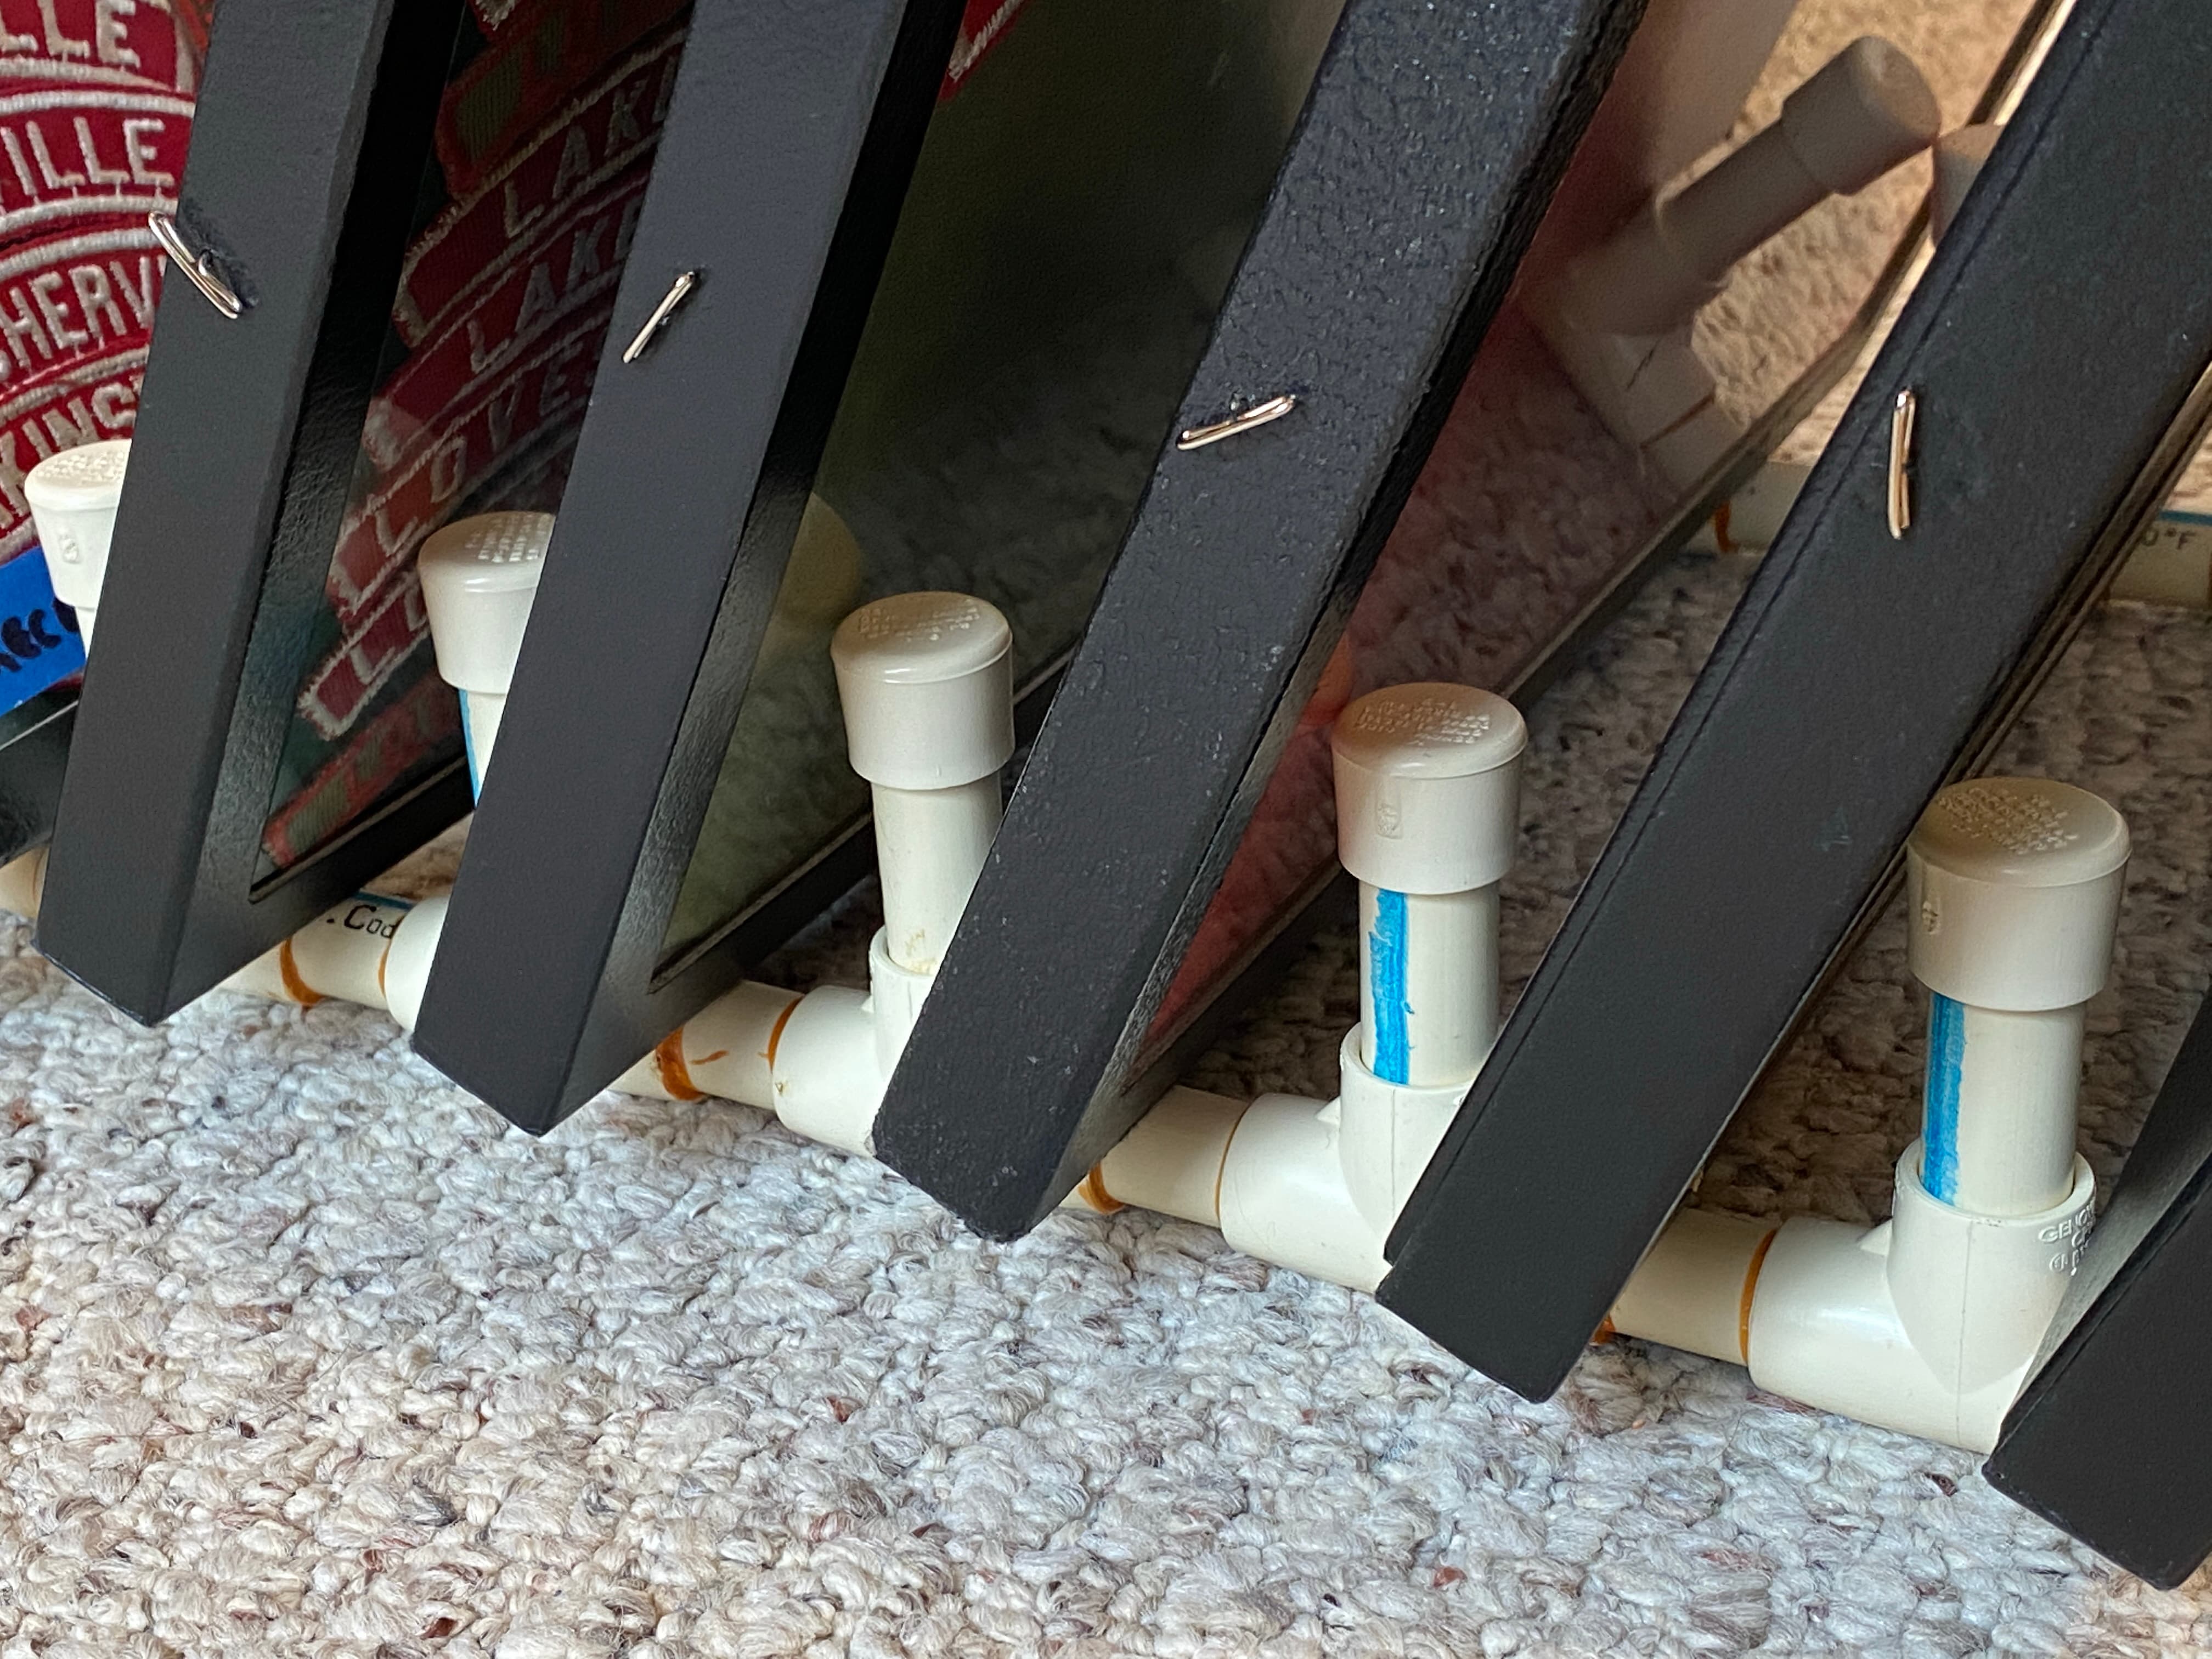
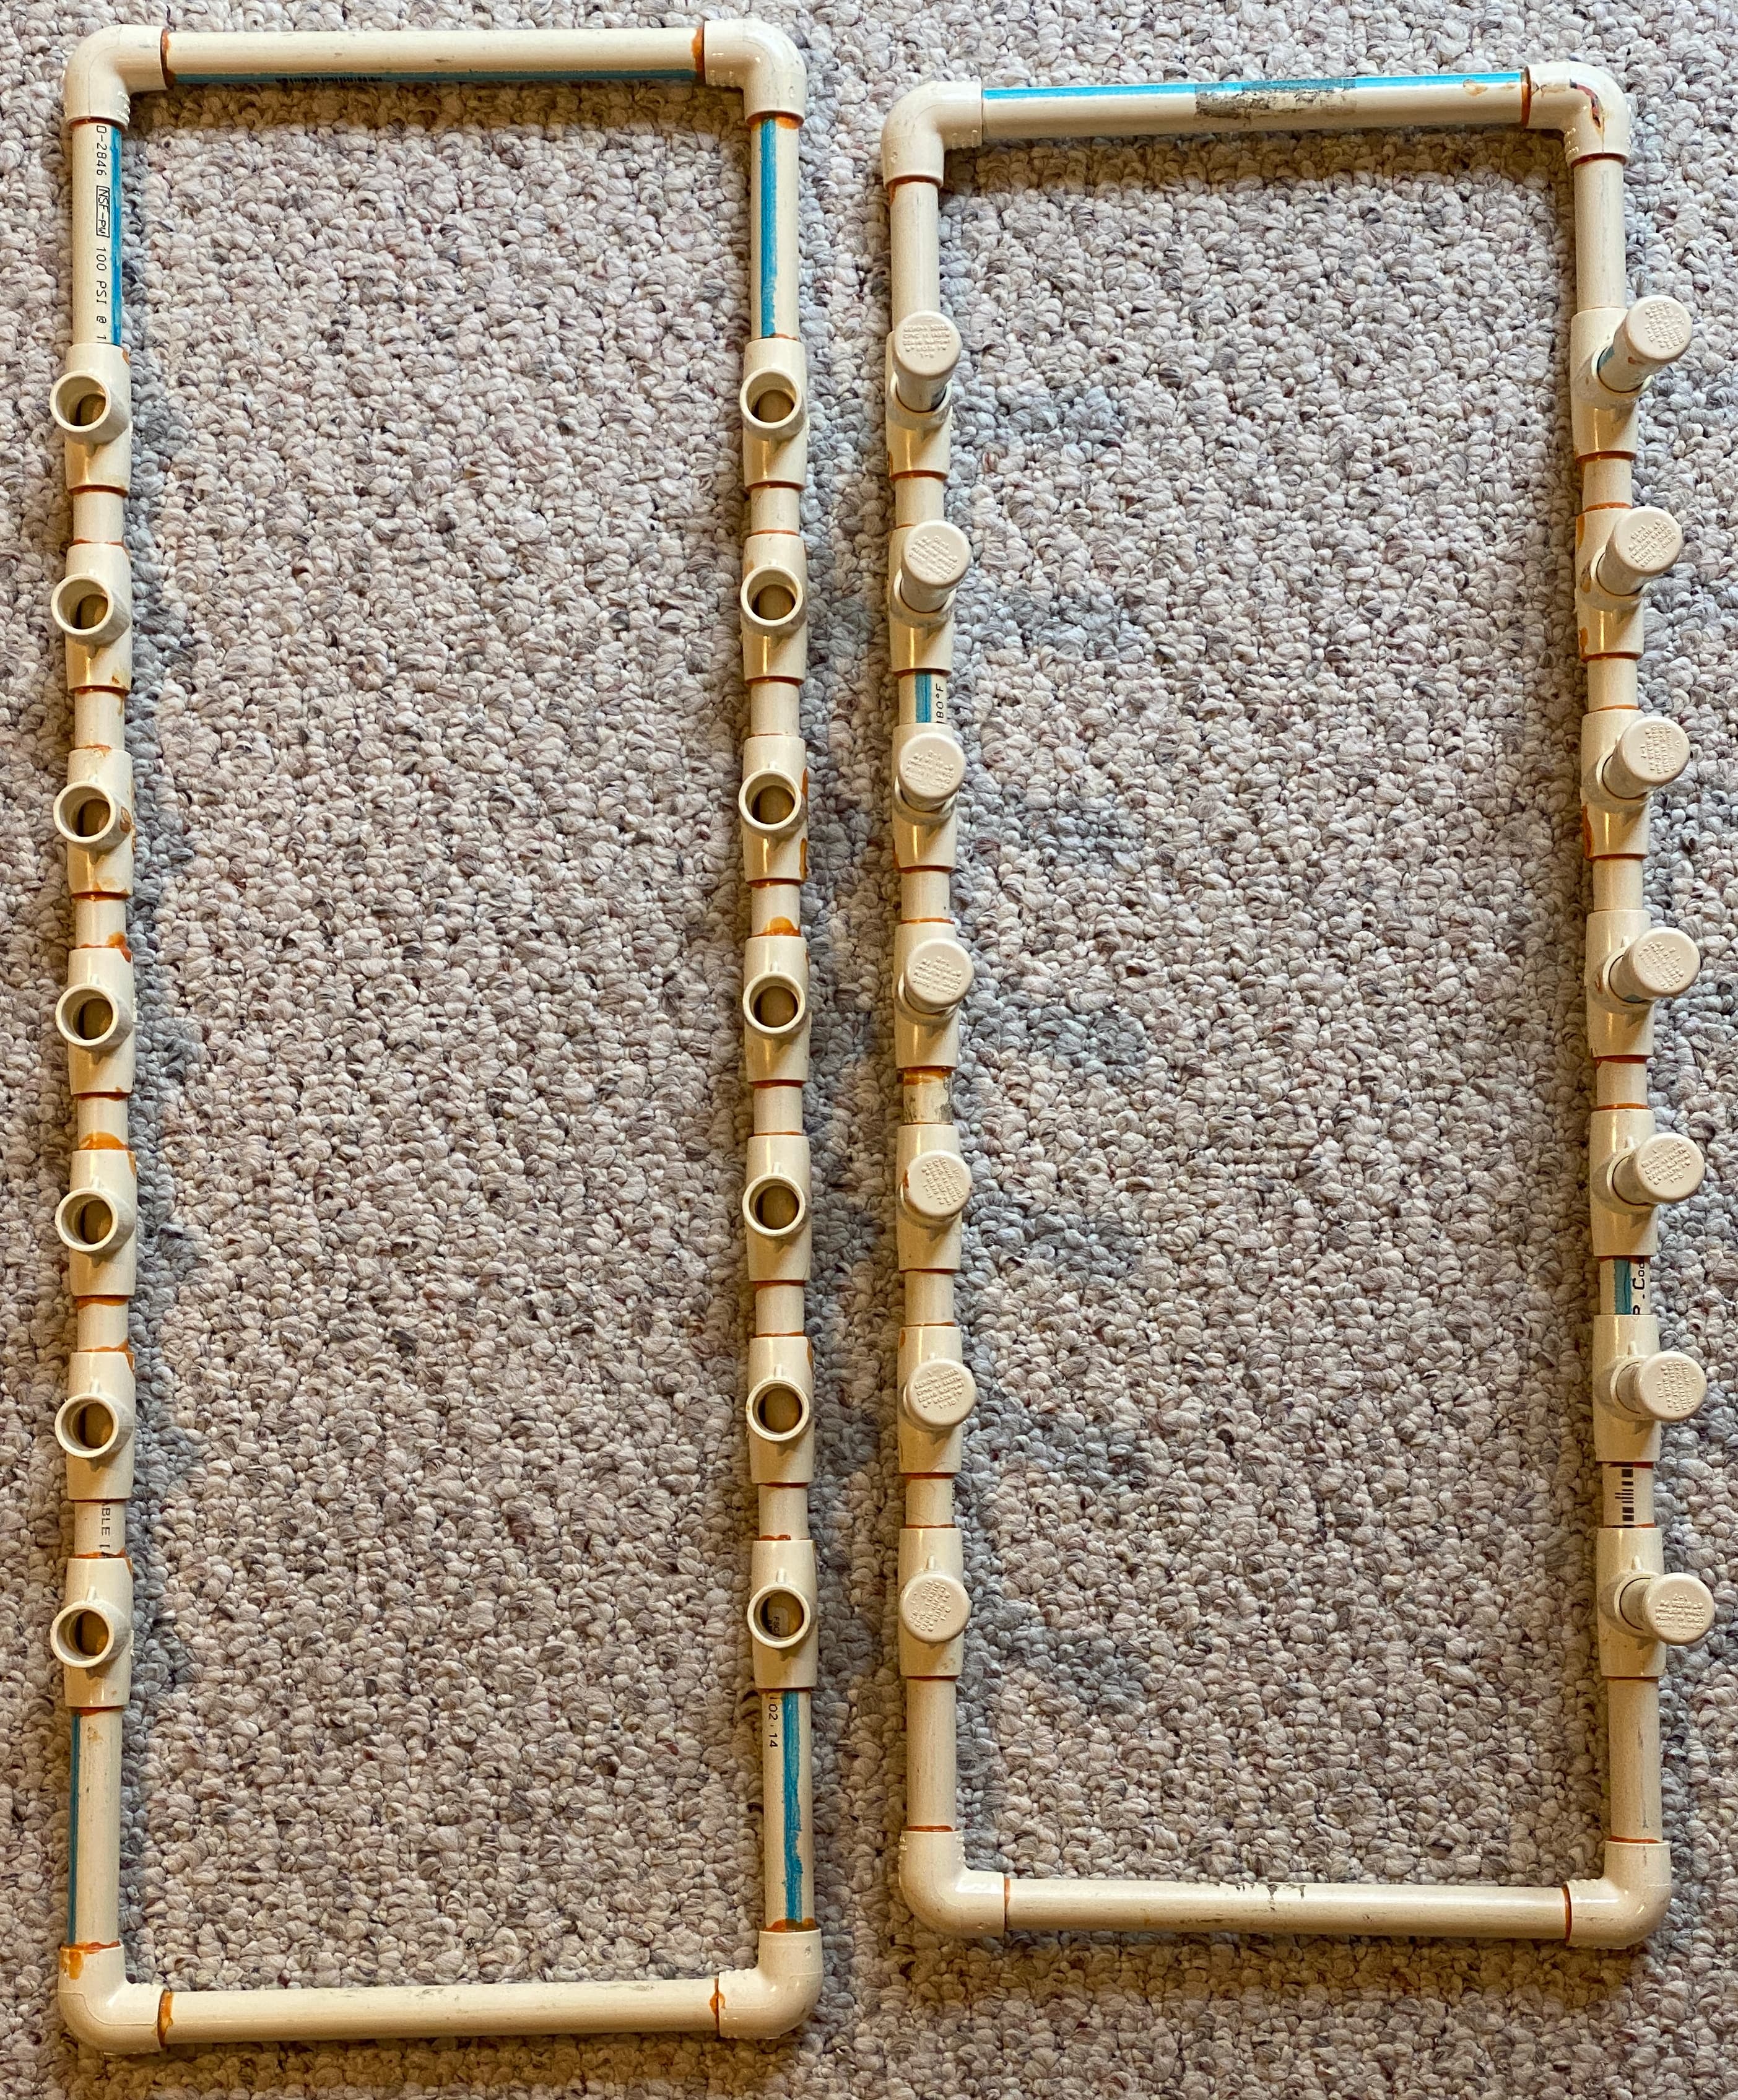
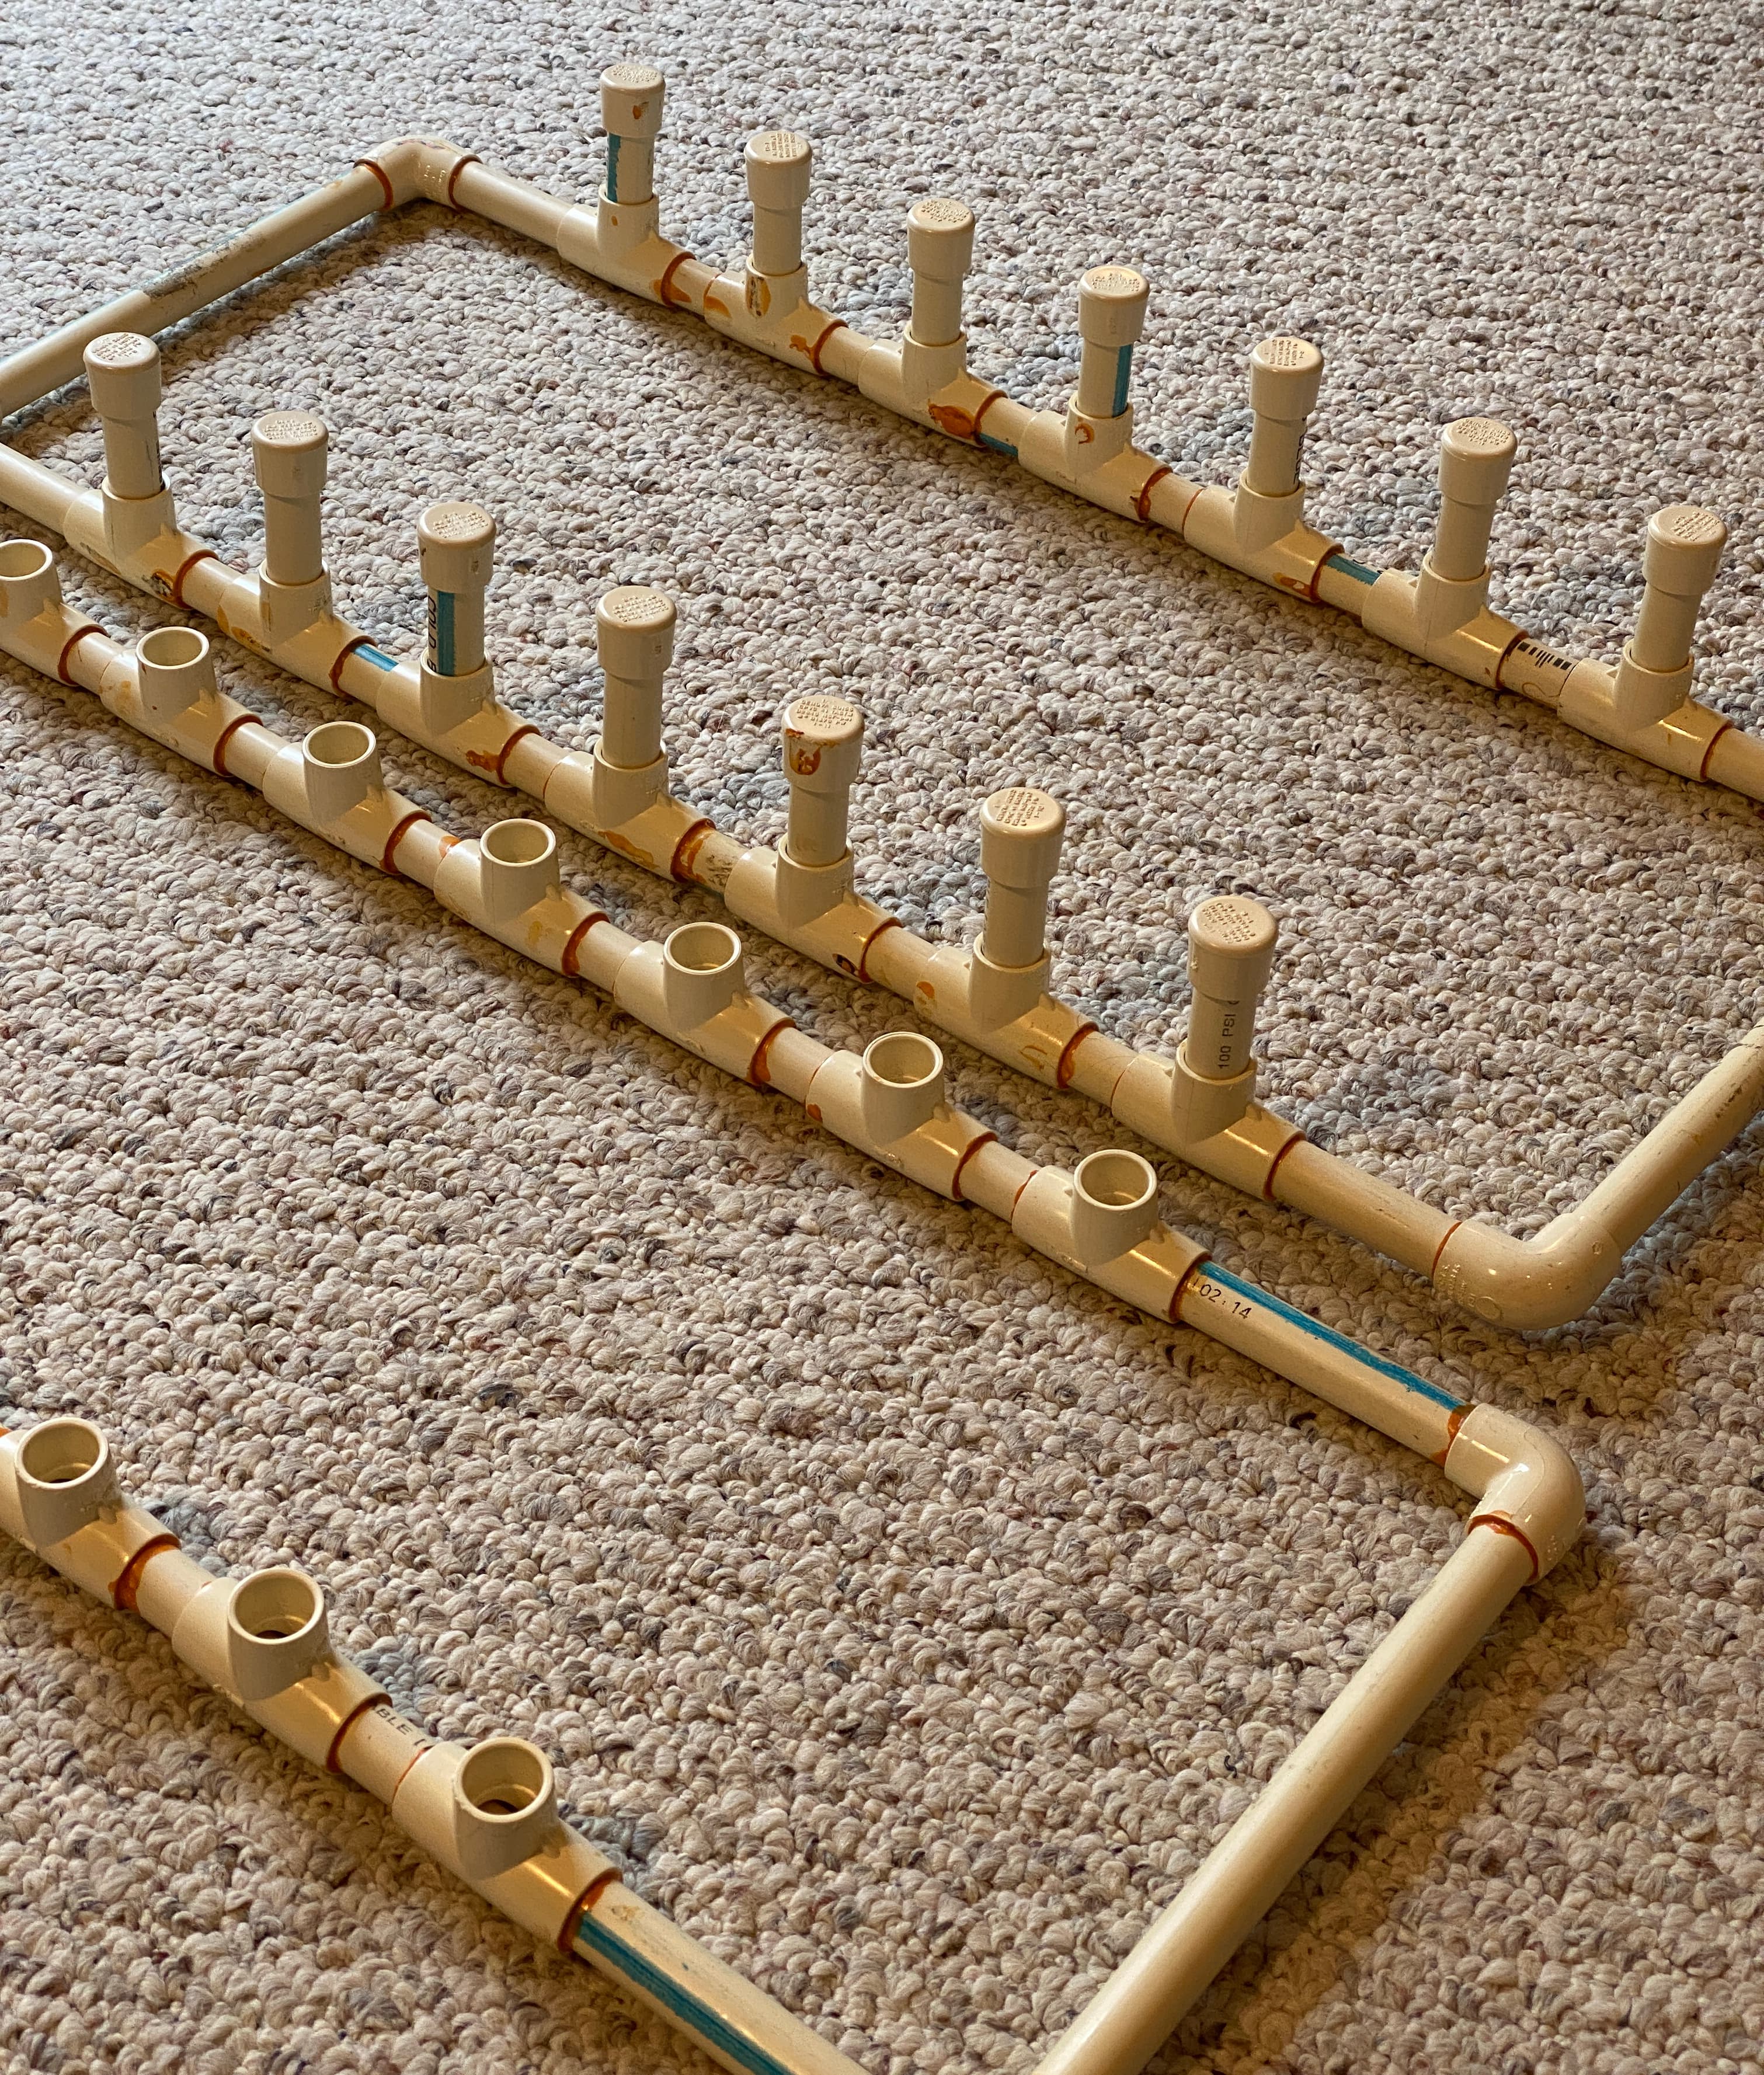
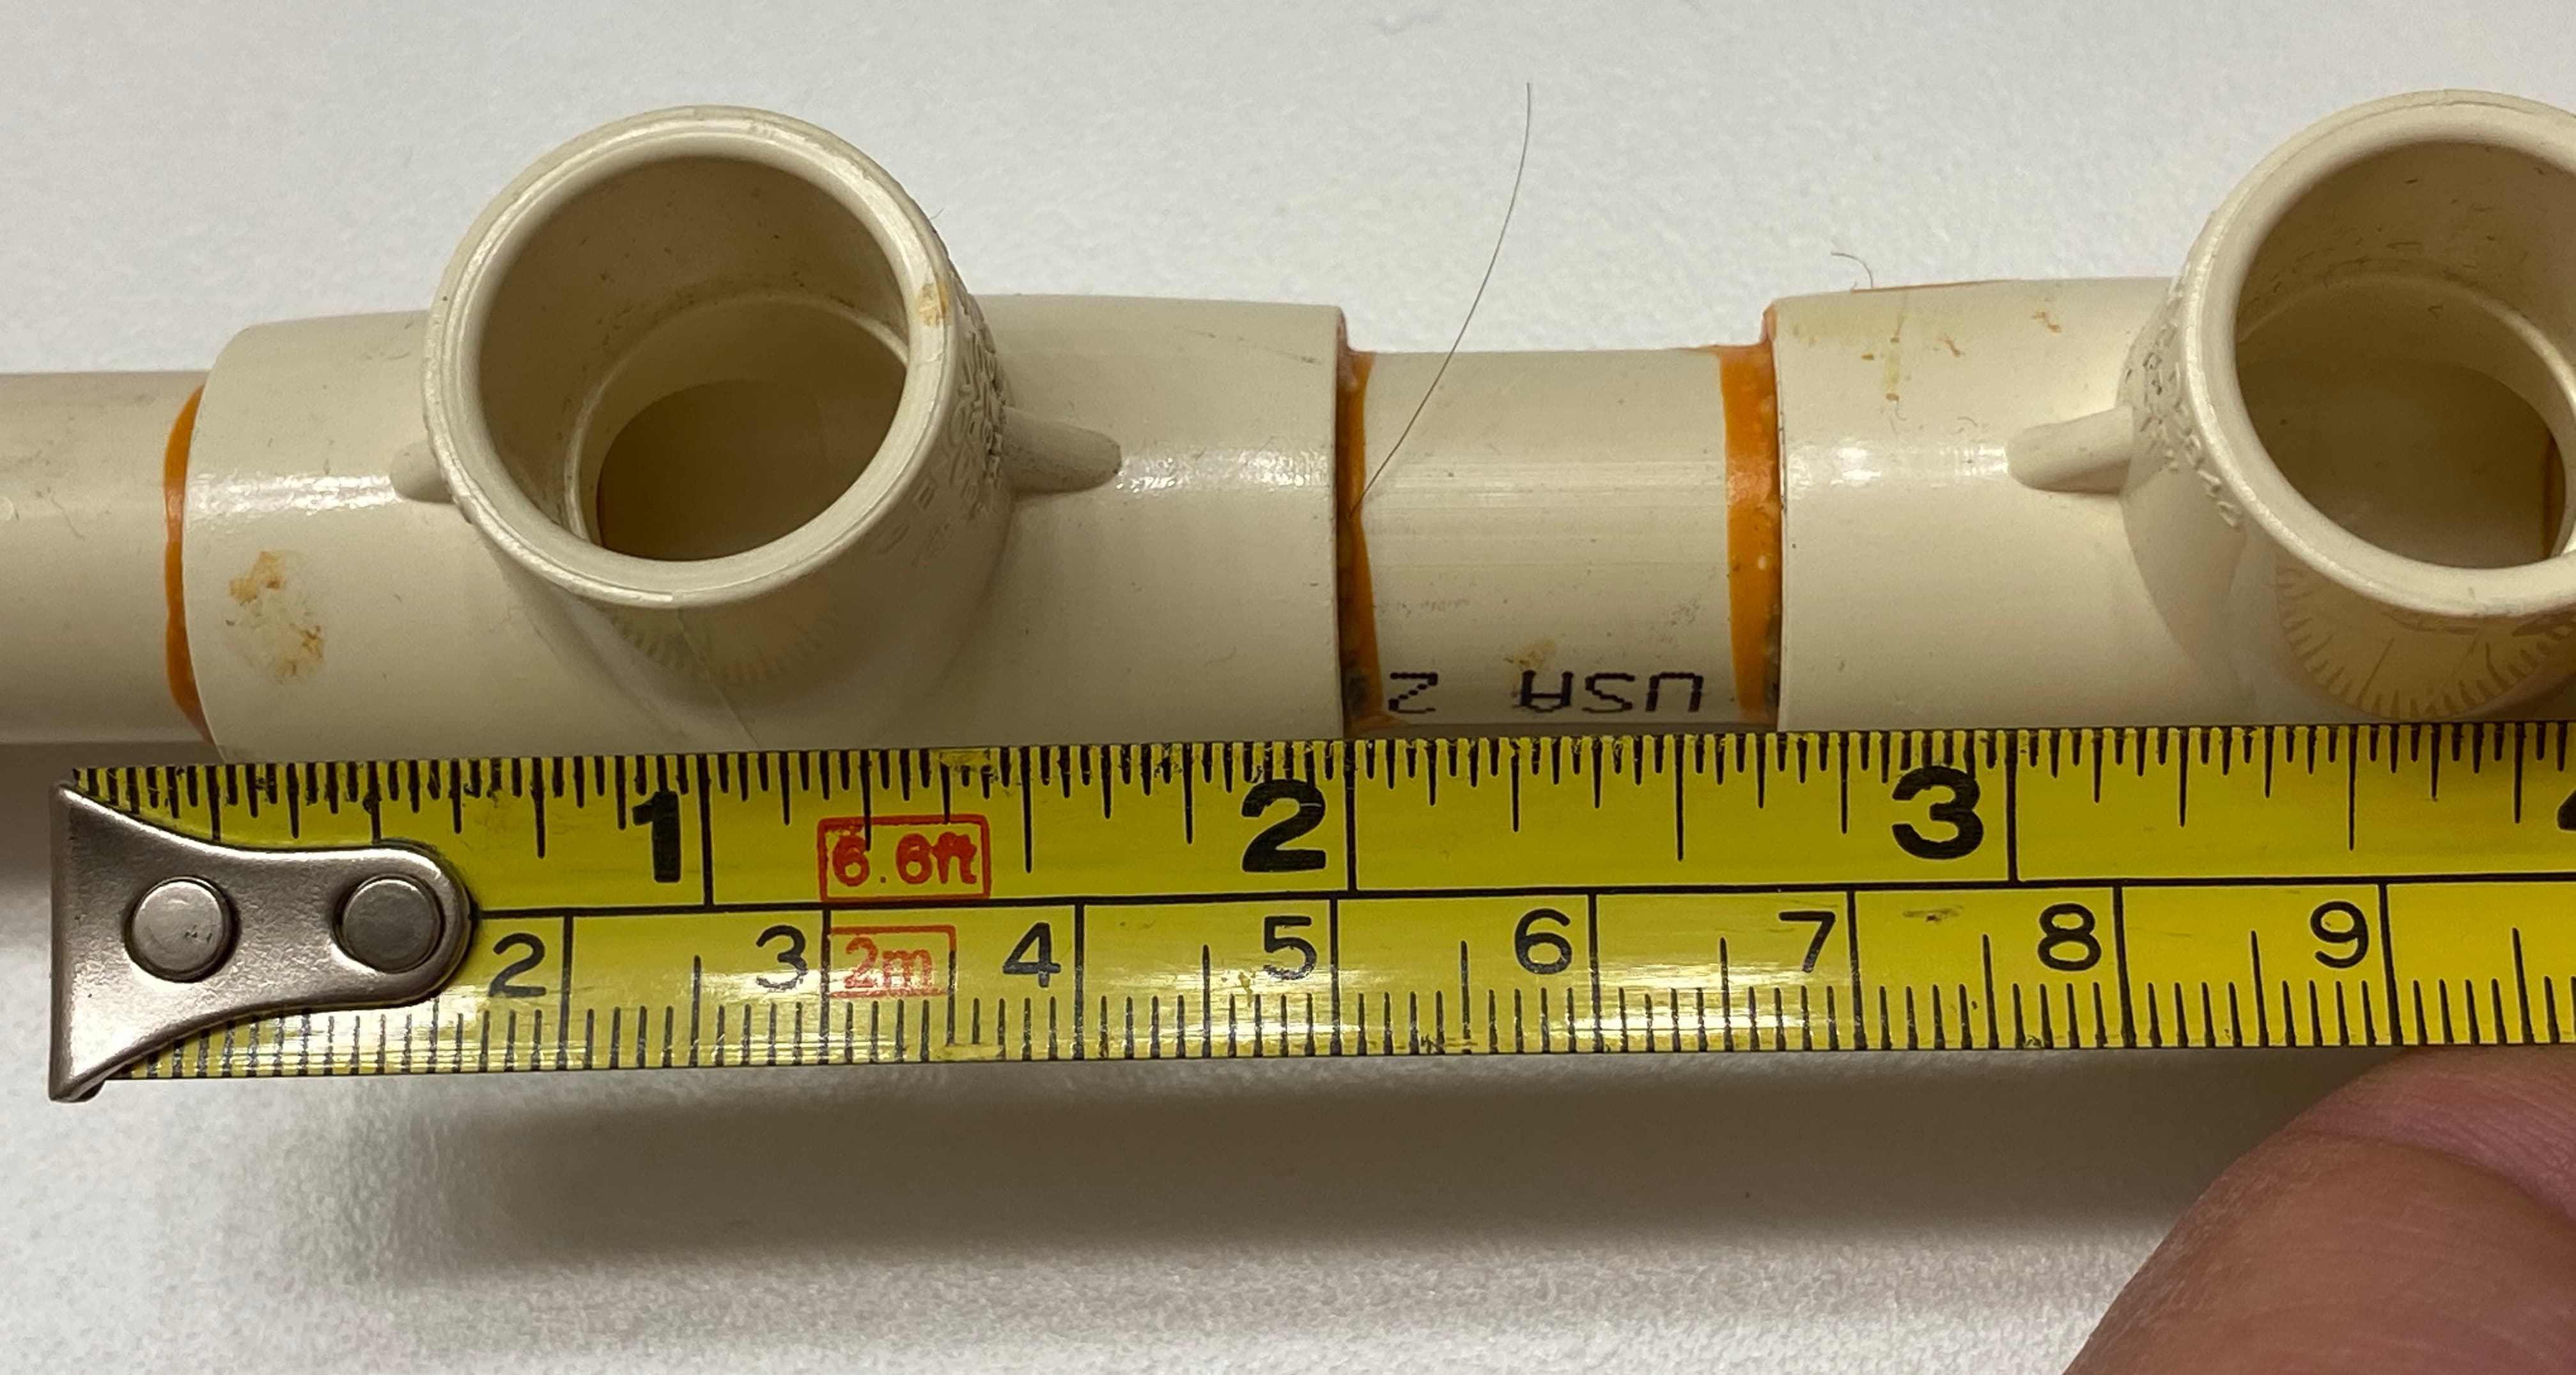
I don't have all the measurements on this webpage. When I find them, I will add them to the page. Take a good look at the pictures and see what you can pull from them. The most crucial dimension is the one between each vertical peg as that sets the angle of repose and the magnitude of swing.
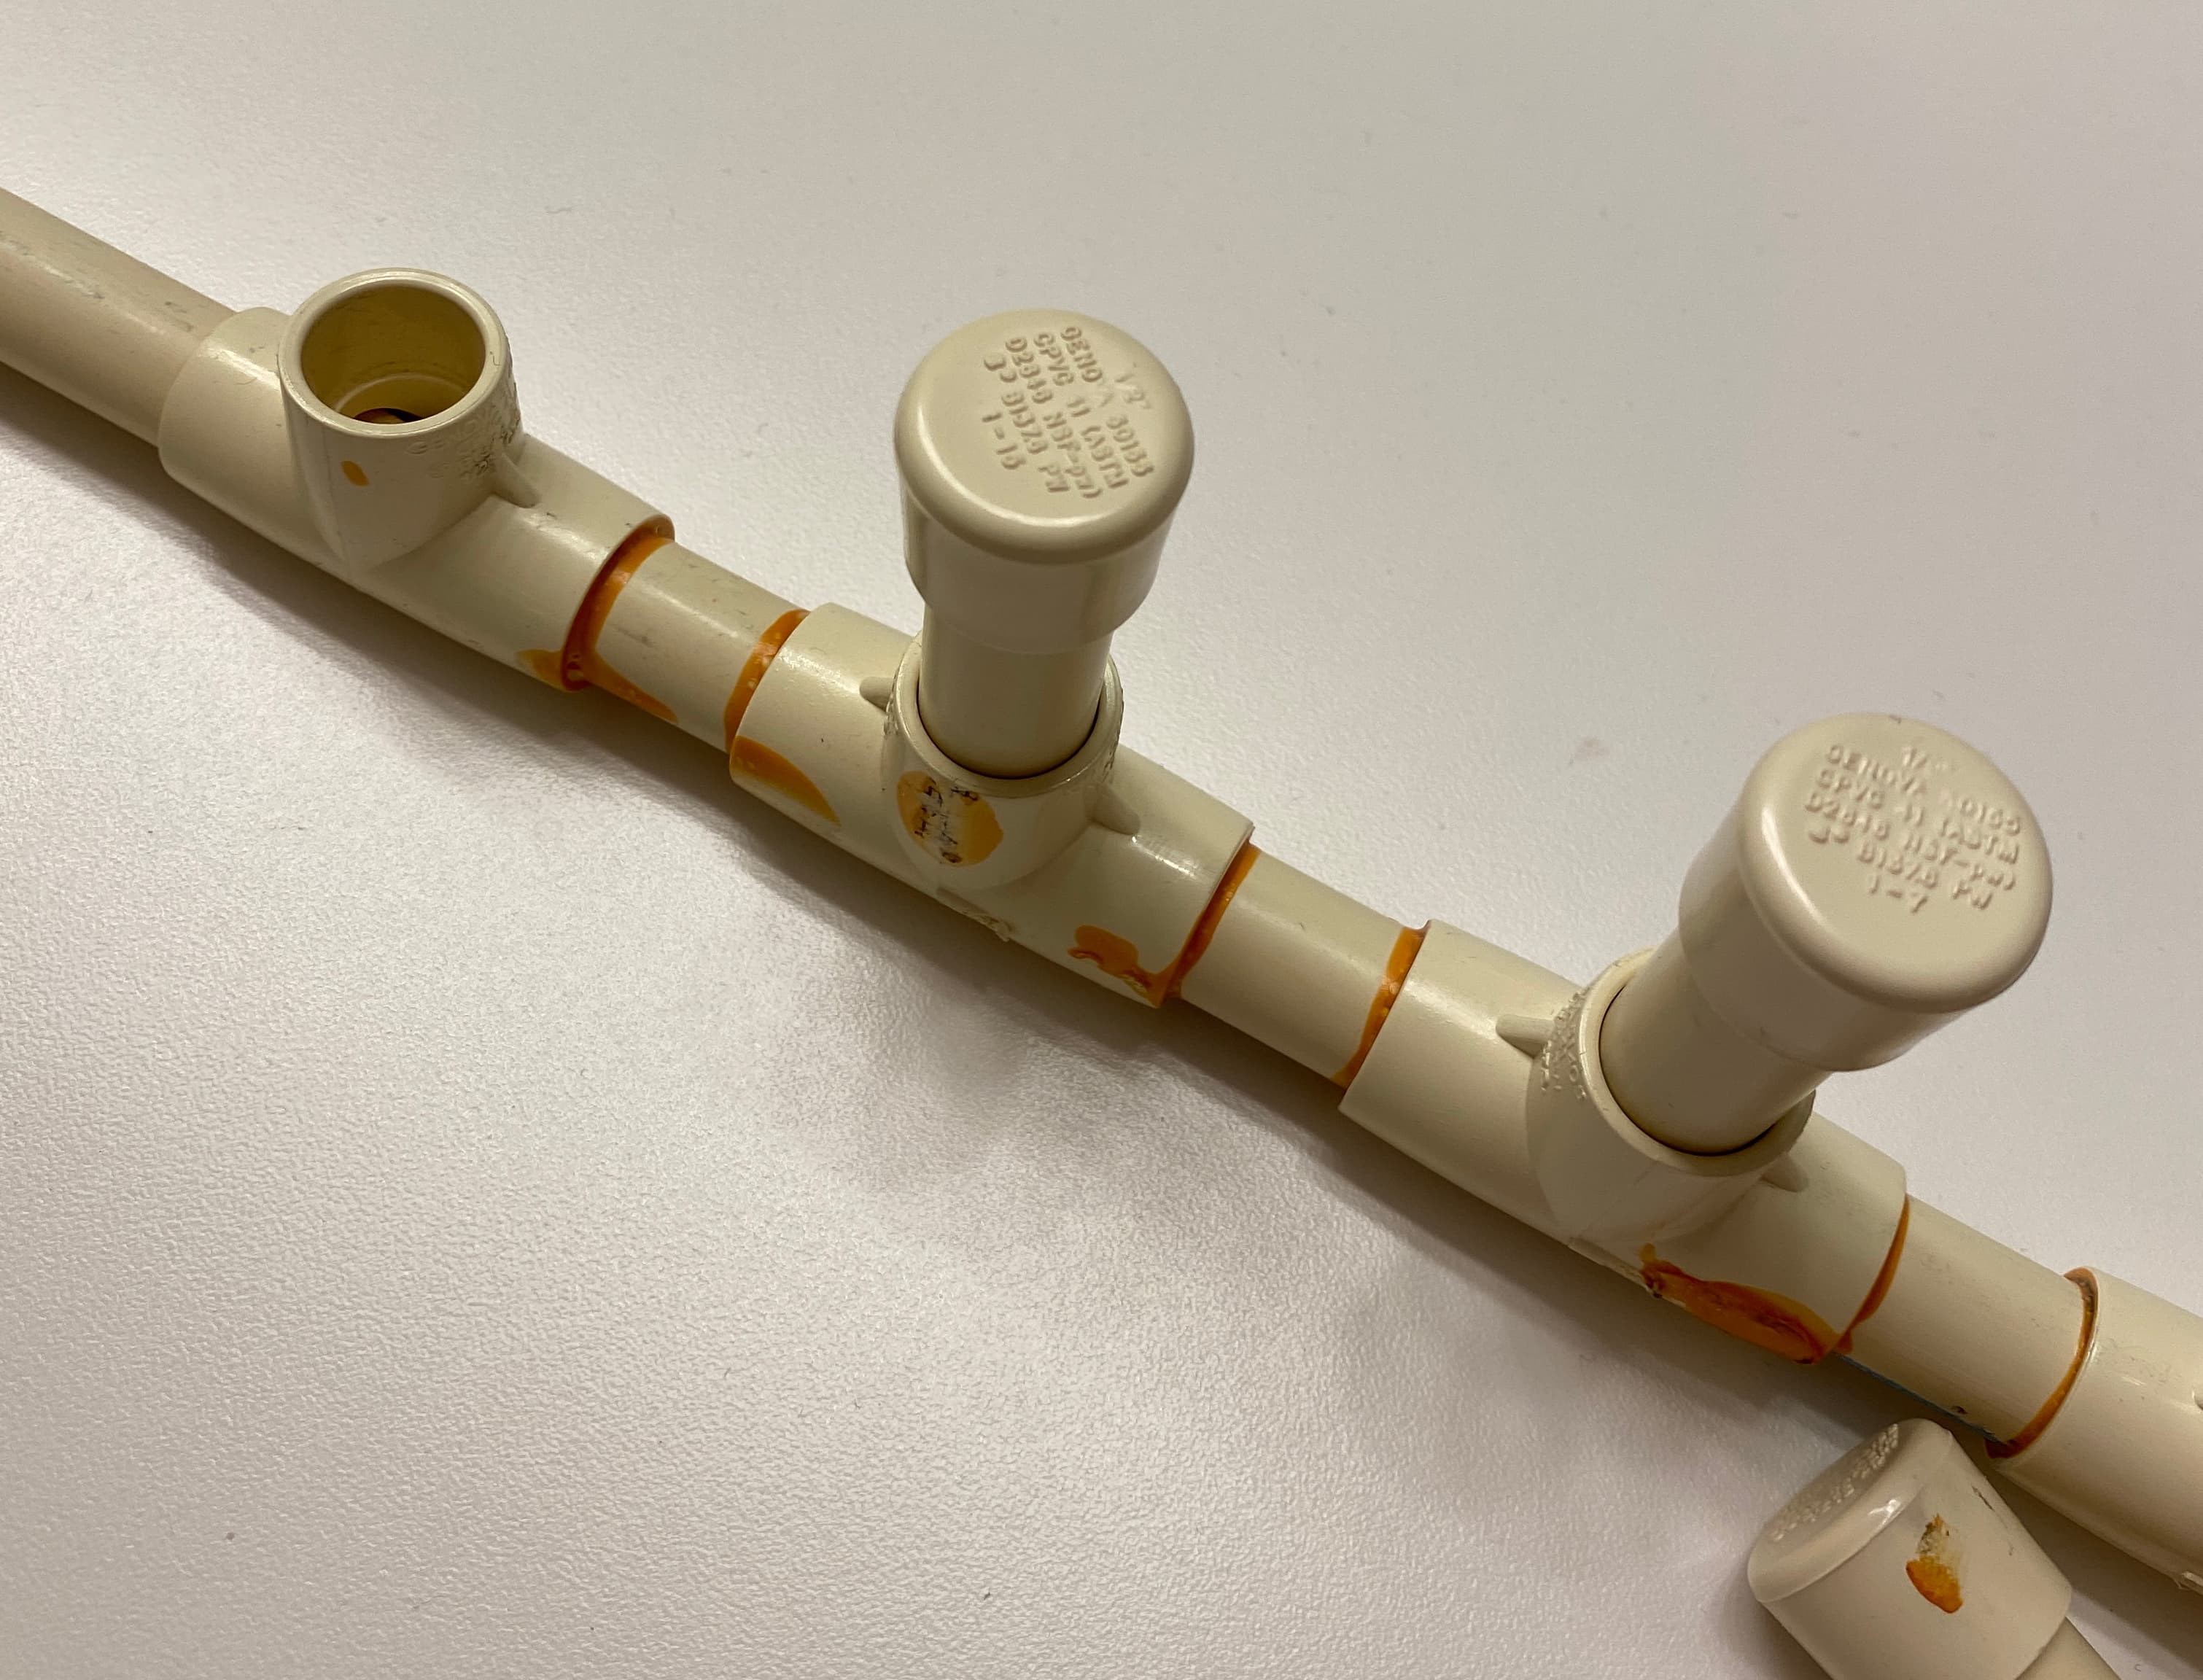
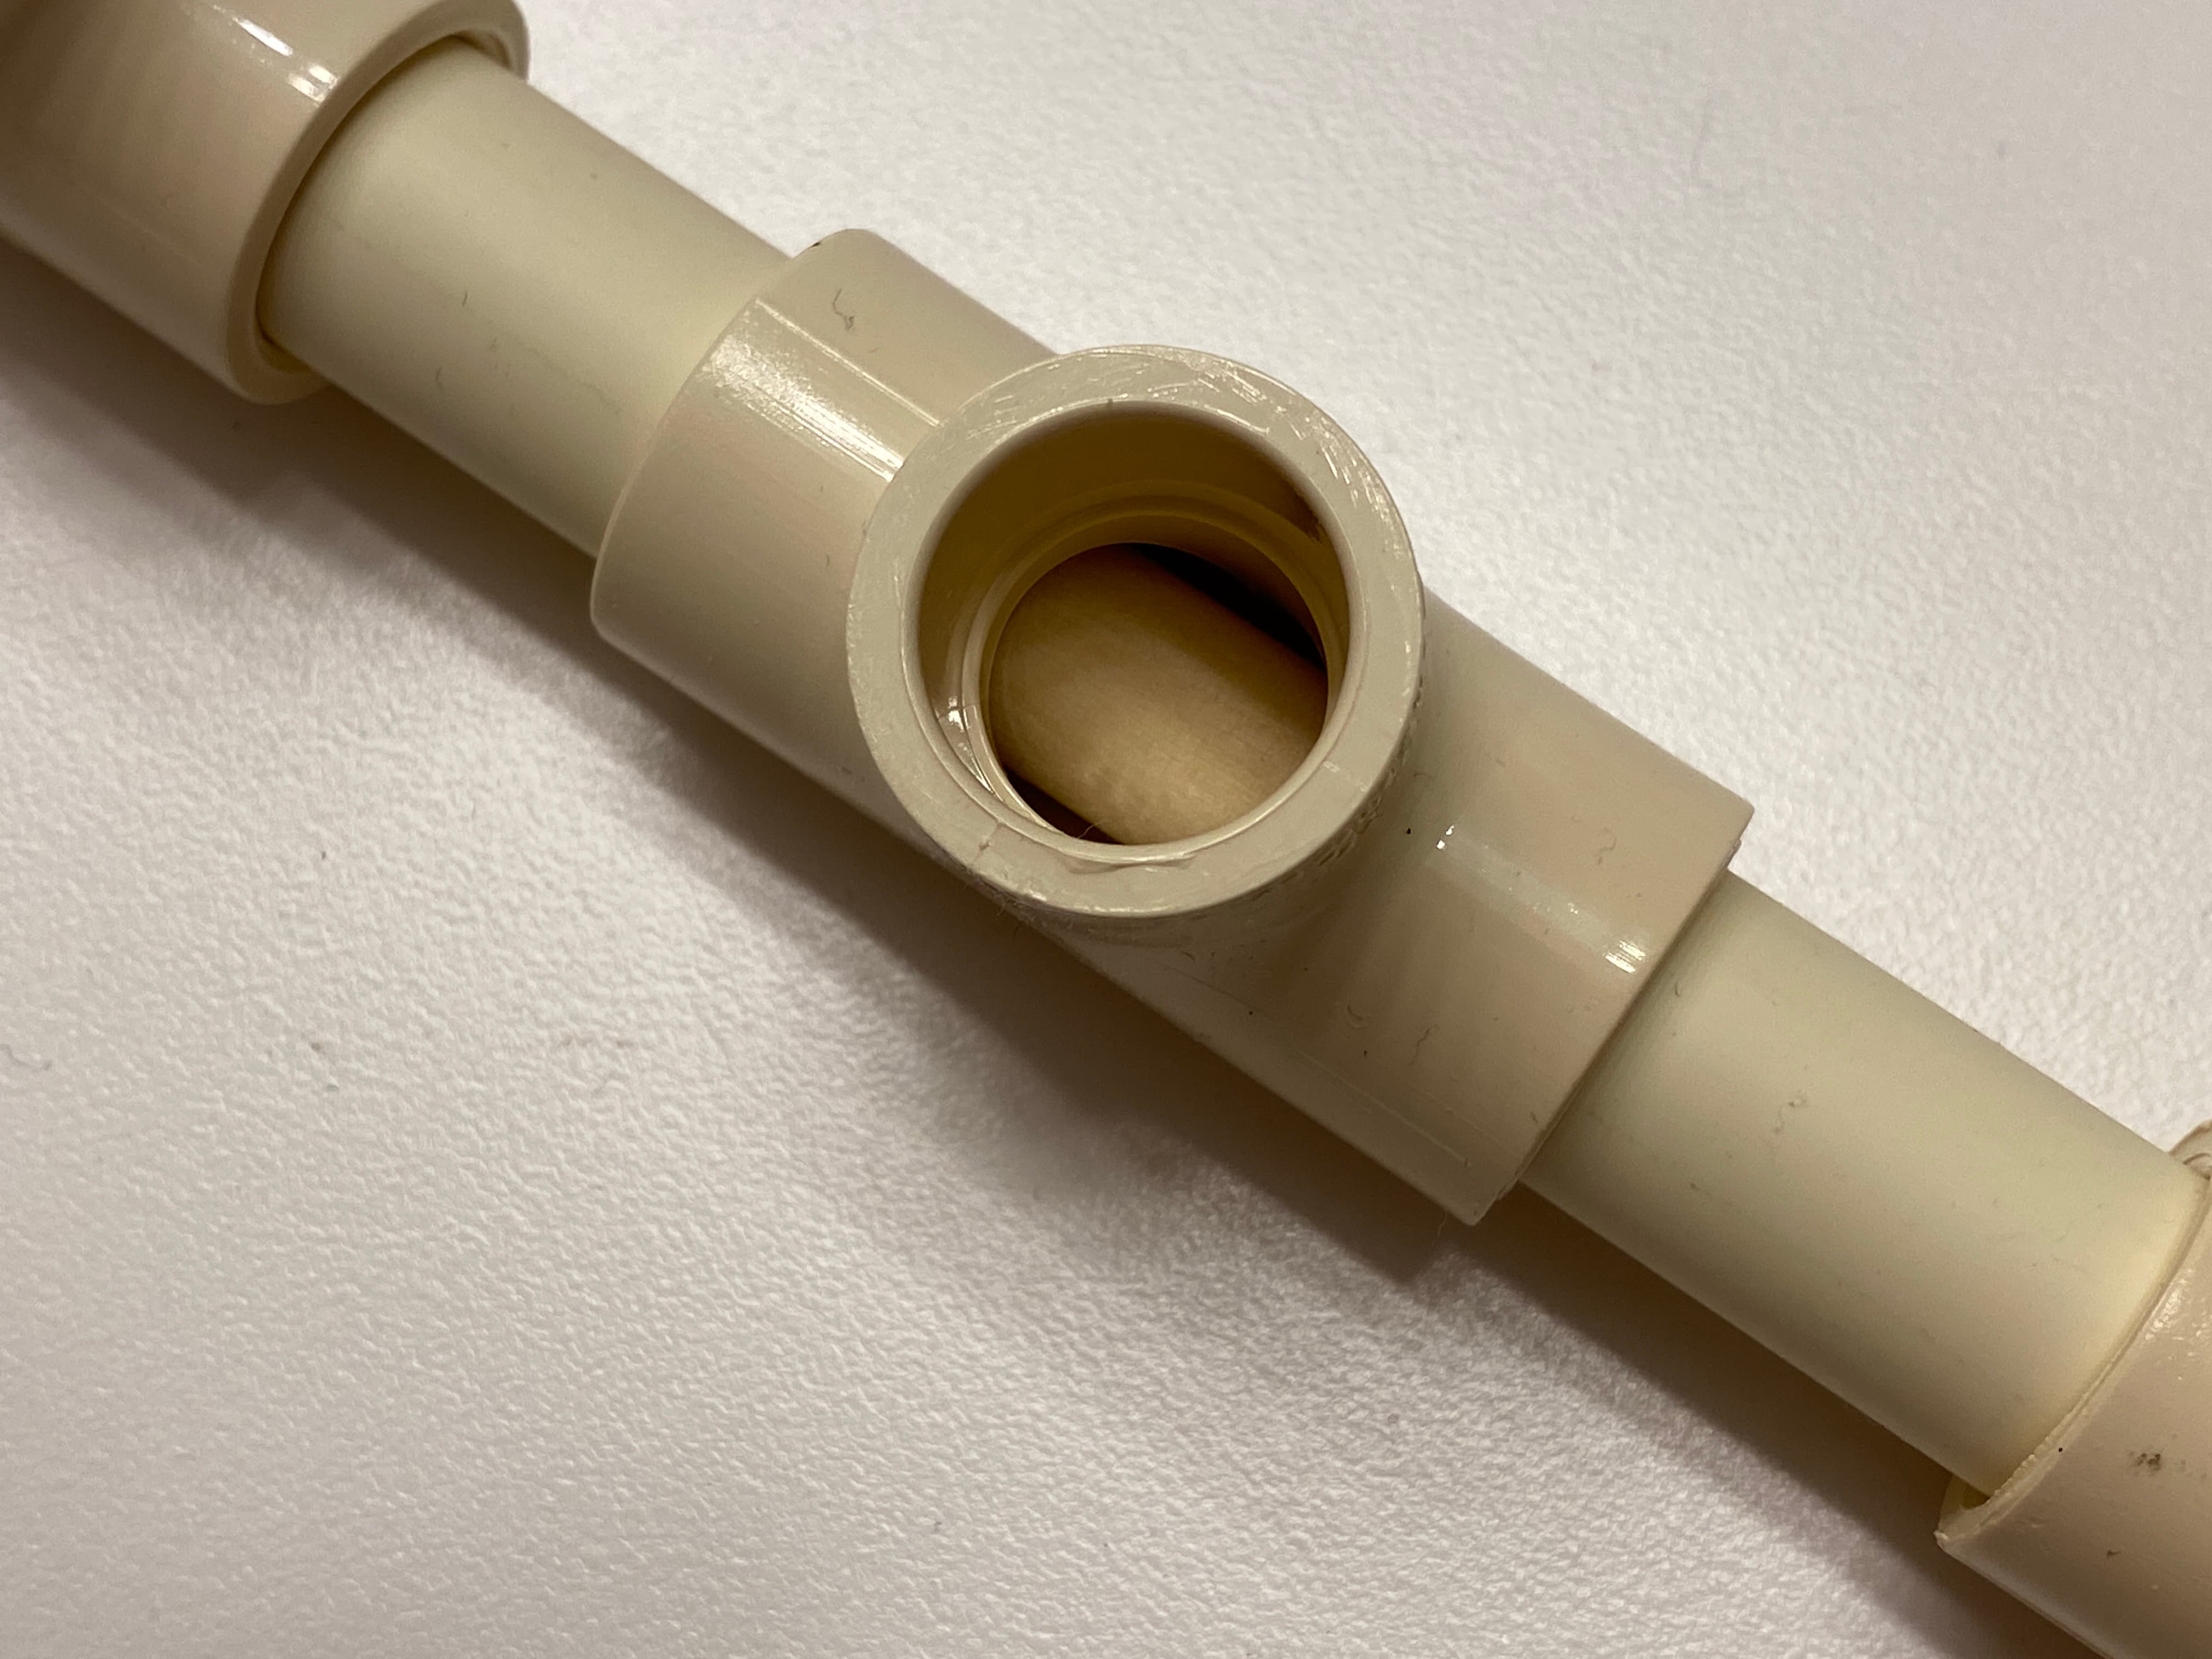
The most crucial point in the assembly is when gluing the runs together. At that stage, I would have the vertical pegs installed (and NOT glued) as they will give you something to grab and to visually align to "vertical". As I recall, I take the 7 "t's", the six segments between the "t's", and the two straight sections beyond the t's, and glued those all together in one session. That said, I may have installed them in UNGLUED 90 degree corners and cross members in order that I could assess "vertical" and let them dry. Later, I glued the 90 degree corners and the cross members. Again, you'll want to have the vertical pegs in to help you assess "vertical" while the corner pieces are being glued.
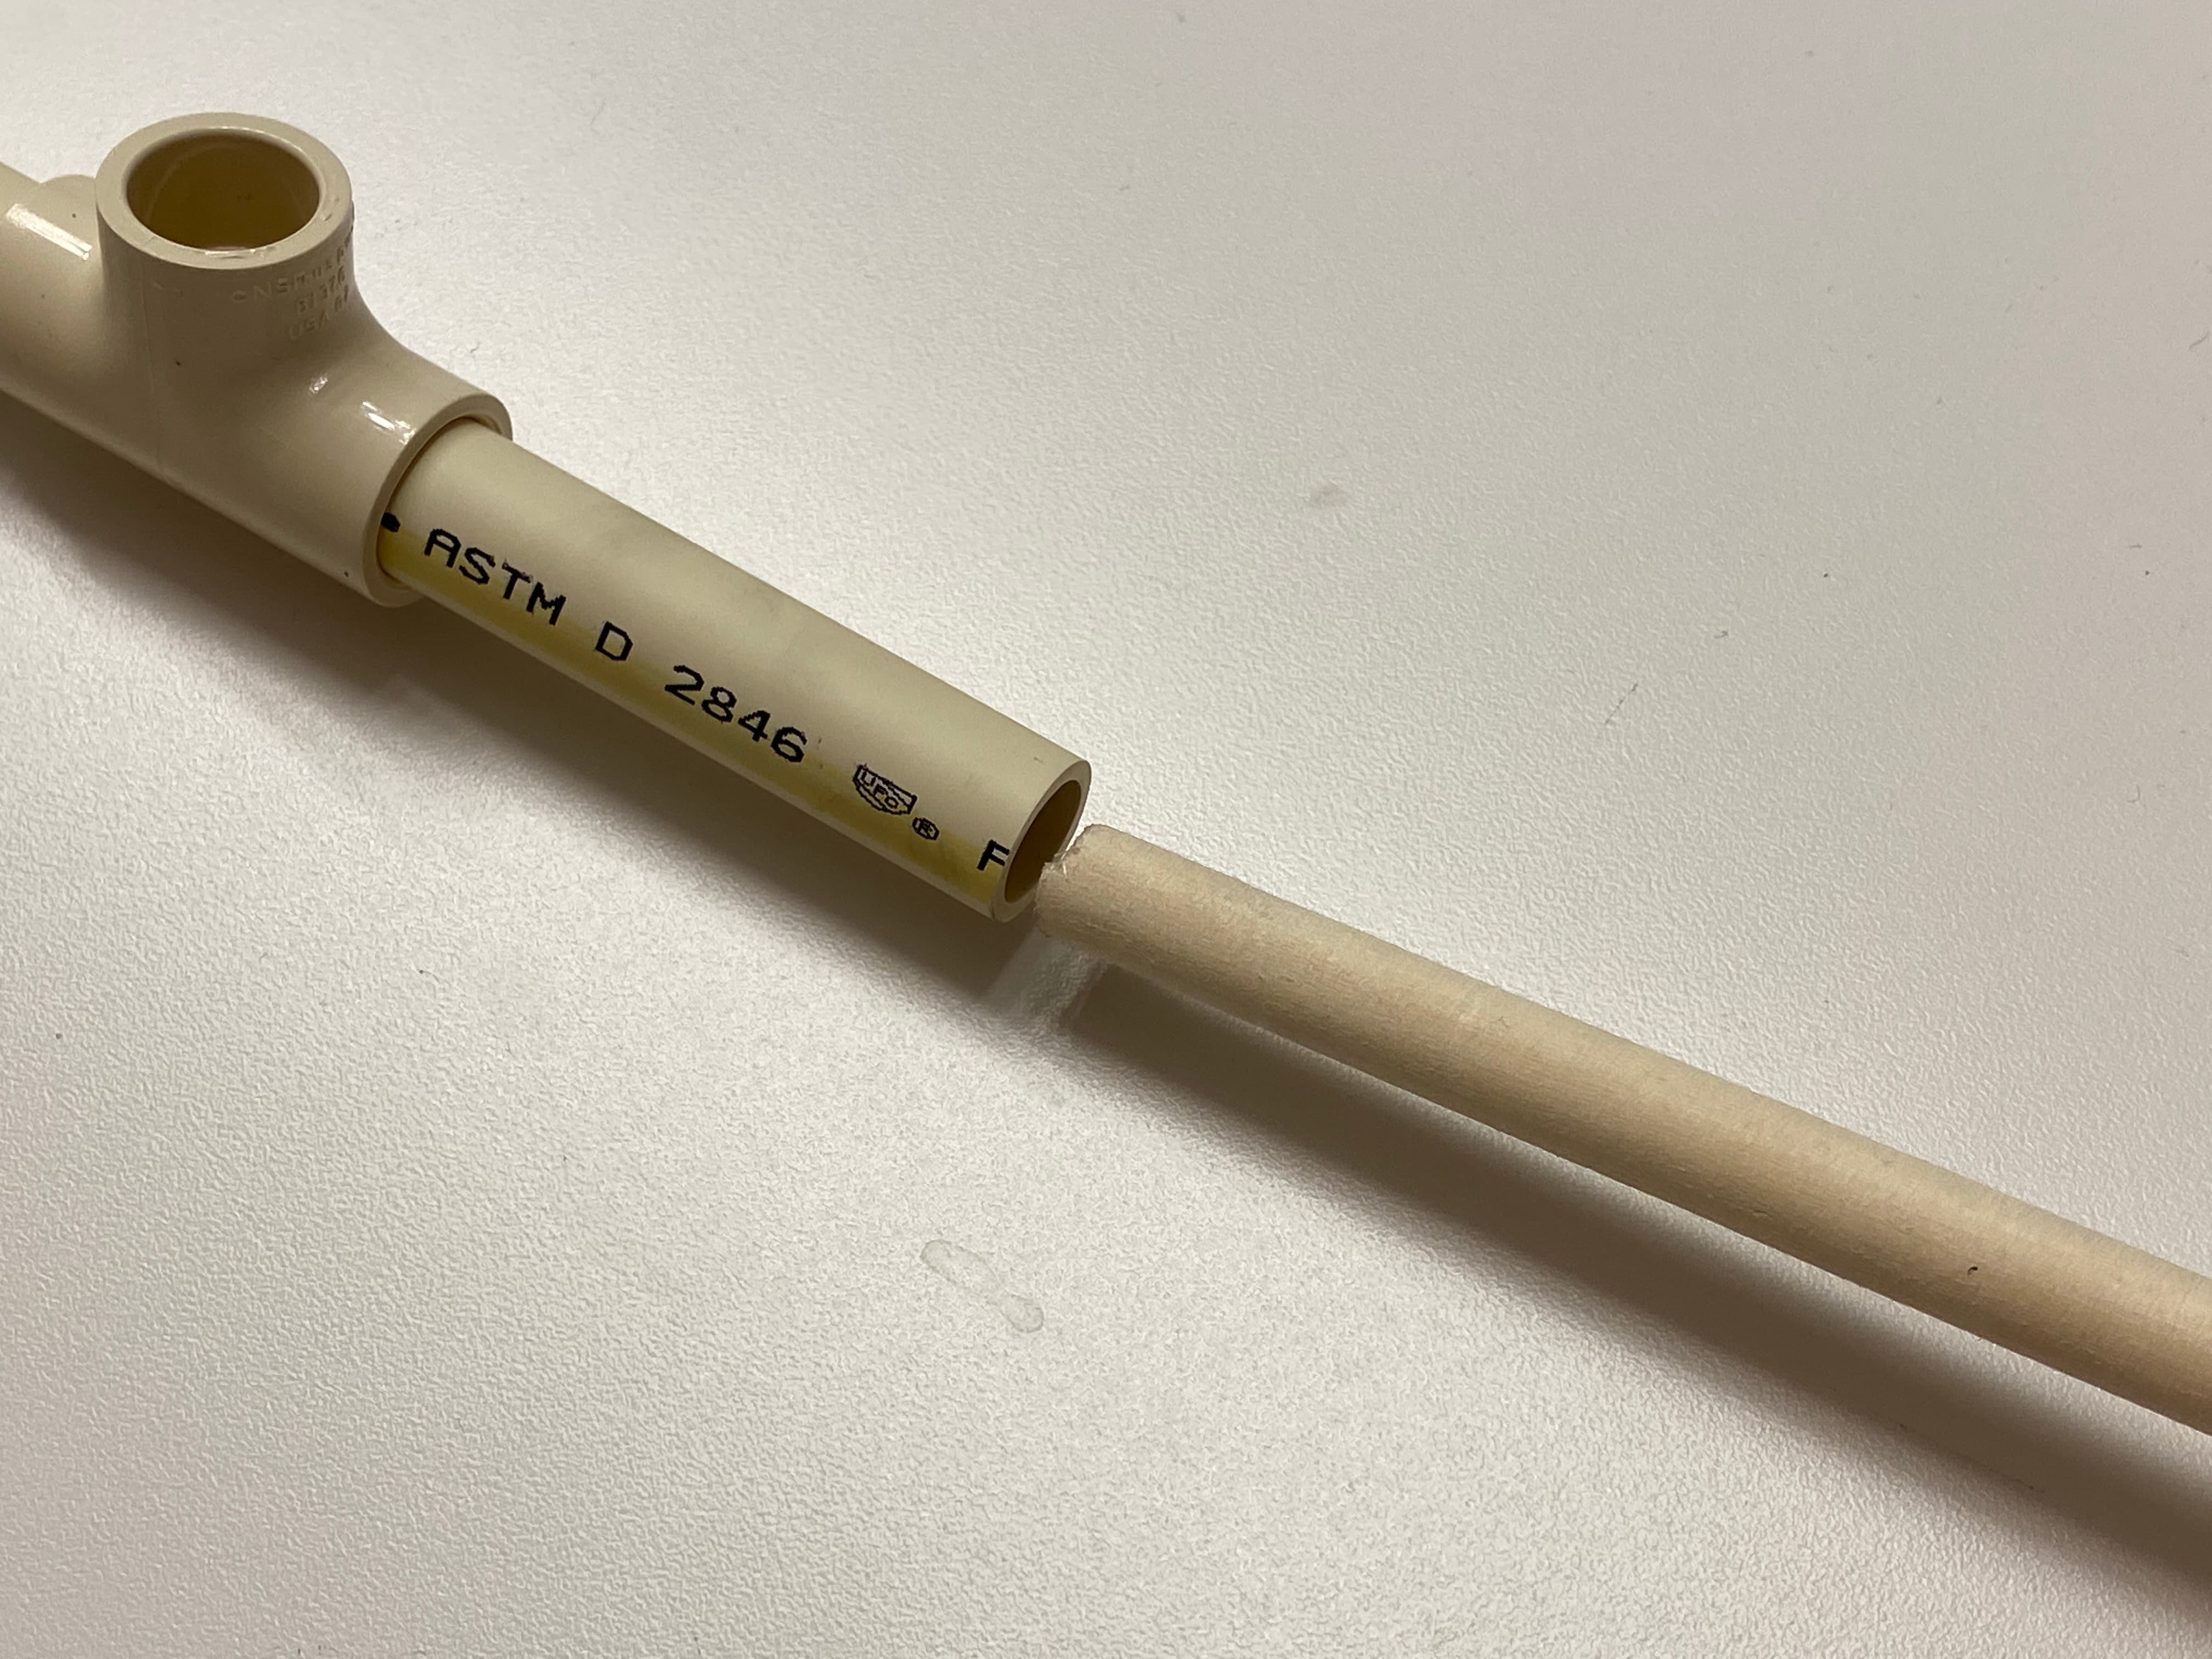
Let's talk about dowels on the inside. While that is what I did, as I took down at the most recent TOR, I tried to flex and bend these stands and they were plenty stout just as PVC and glue. I don't think the dowels really add that much rigidity. So you could save the money, time, and effort of adding dowels and still be mighty happy with the outcome.
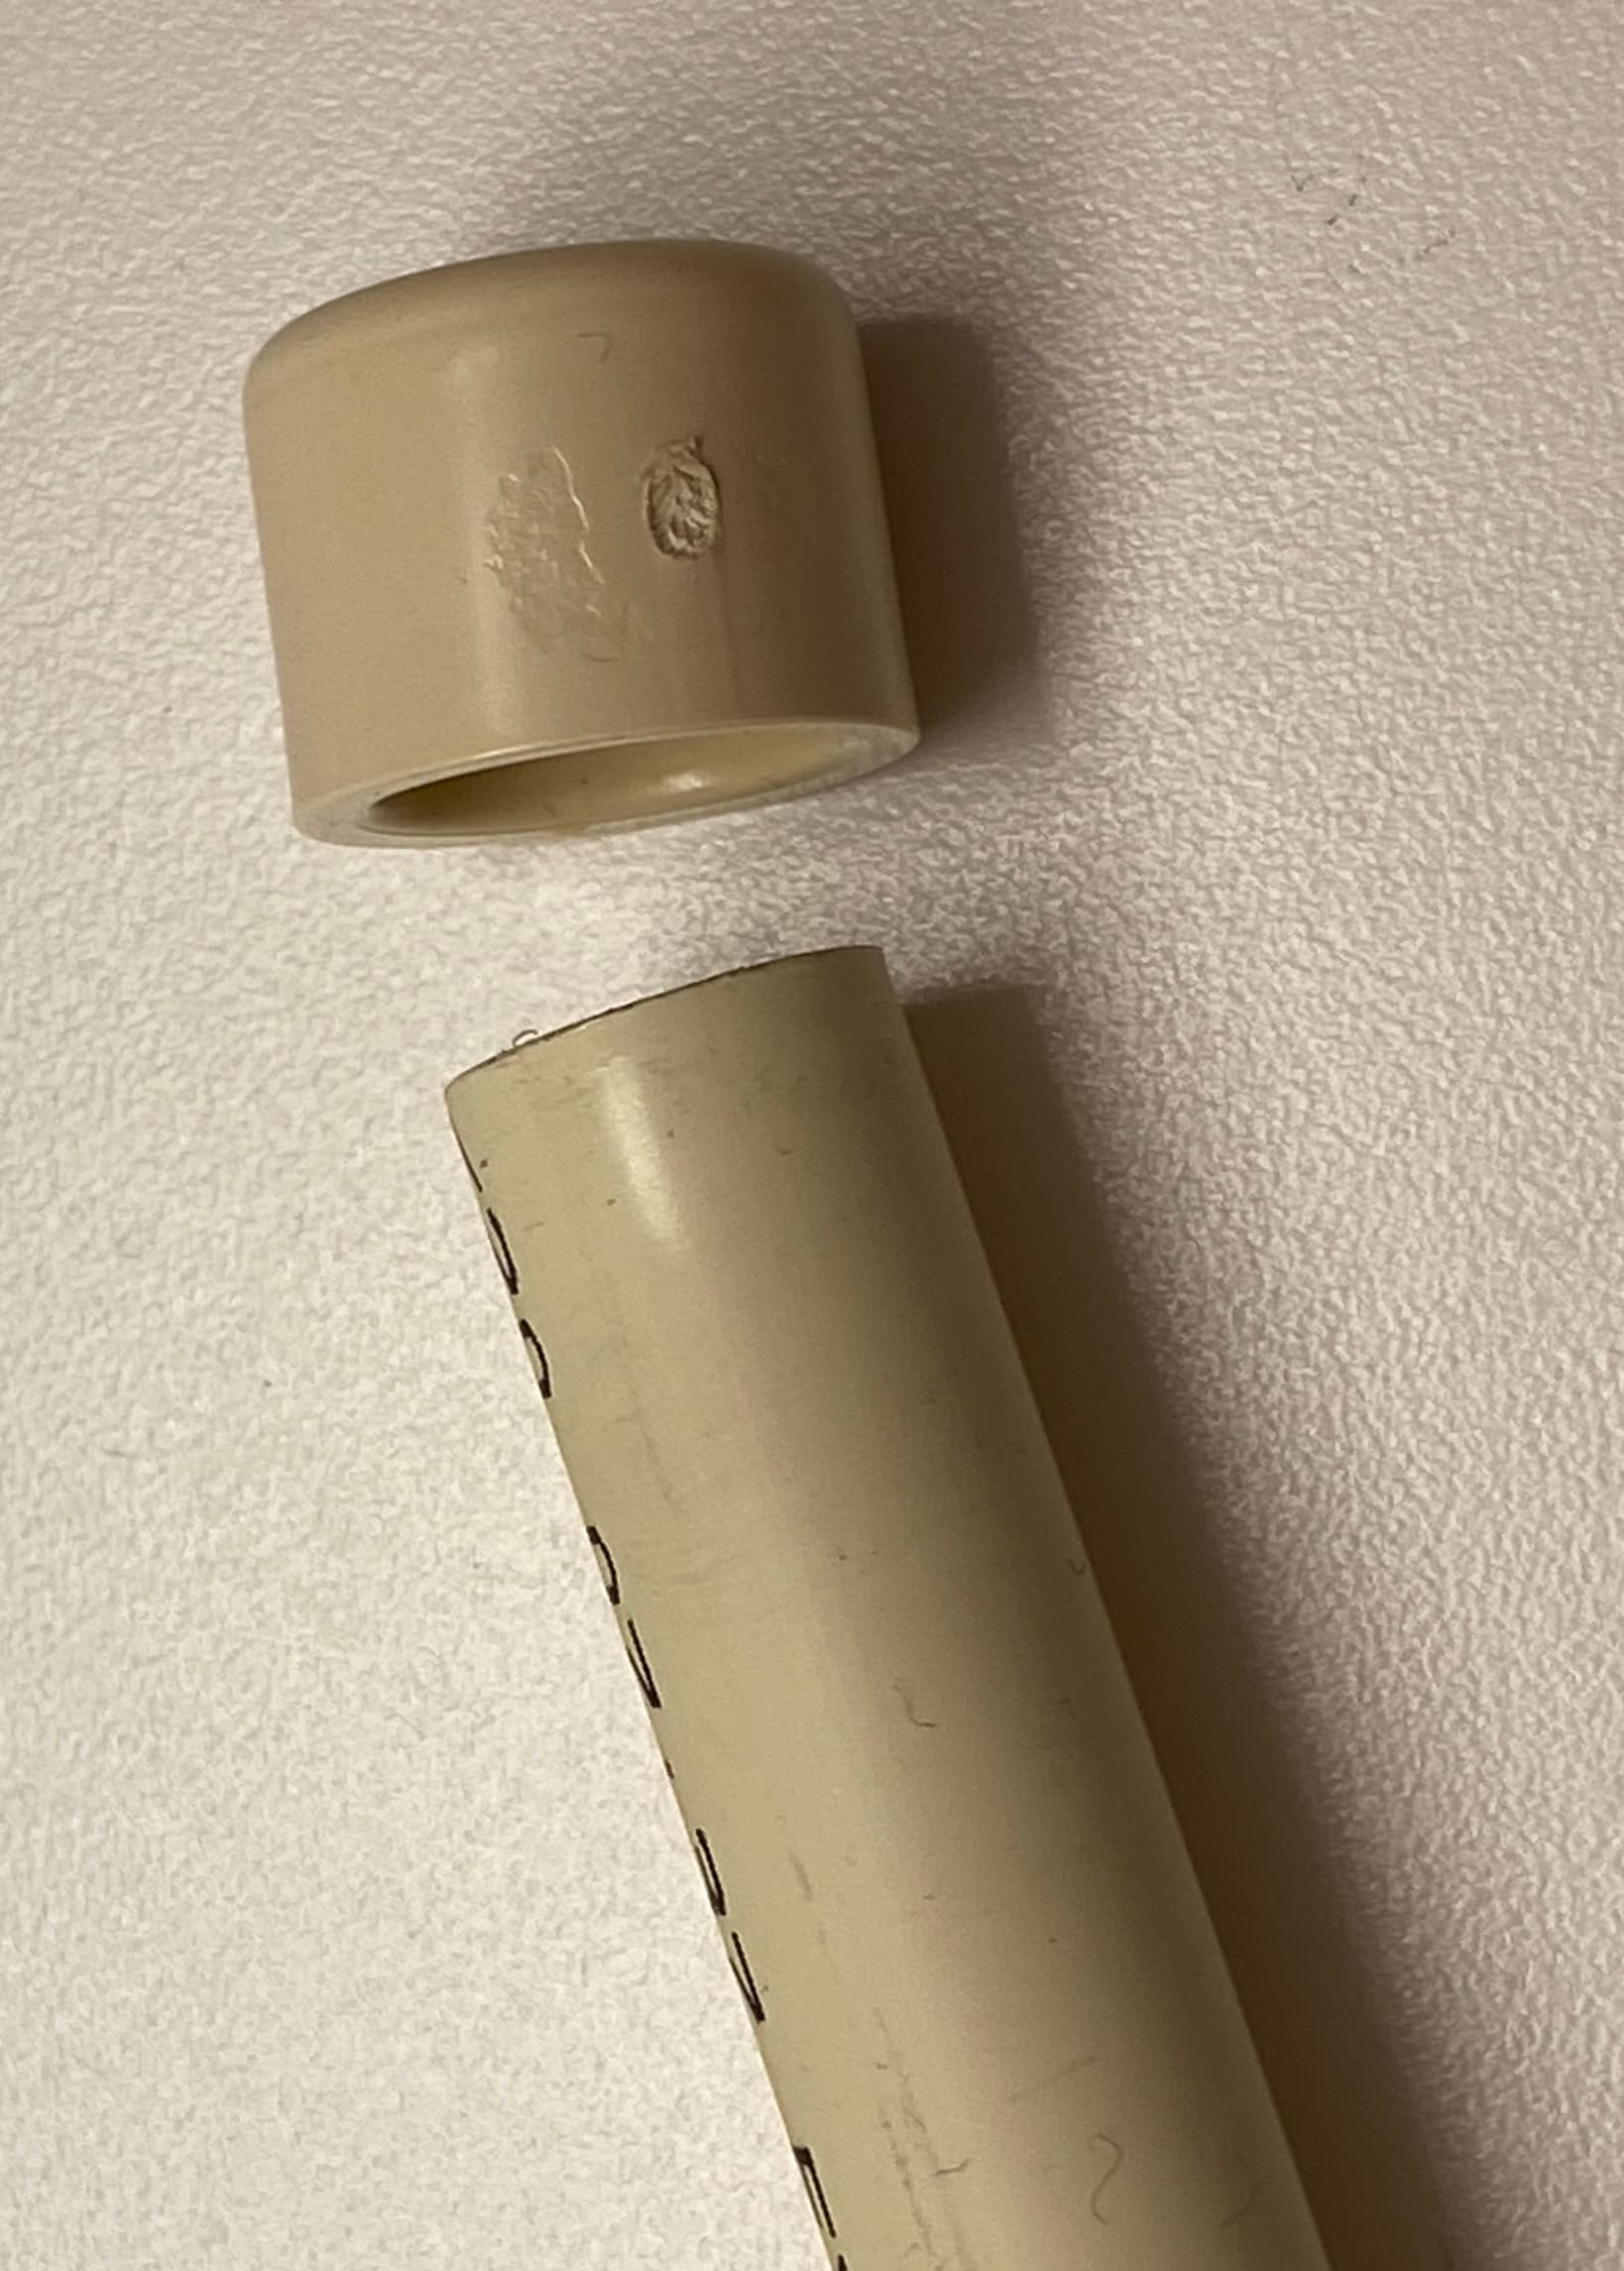
I don't glue the vertical pegs. I don't think I even glued the caps on them. I keep the vertical pegs in a ziplock baggie and install them at the start of each TOR and take them out at the end of the event.

Recall that gluing PVC usually involves one swish of "cleaner" and then a swish of glue. Have good ventilation. While the glue is soft, you'll be surprised at how you can squeeze the pieces closer together than when dry. You might need to practice to see how much compression you get.
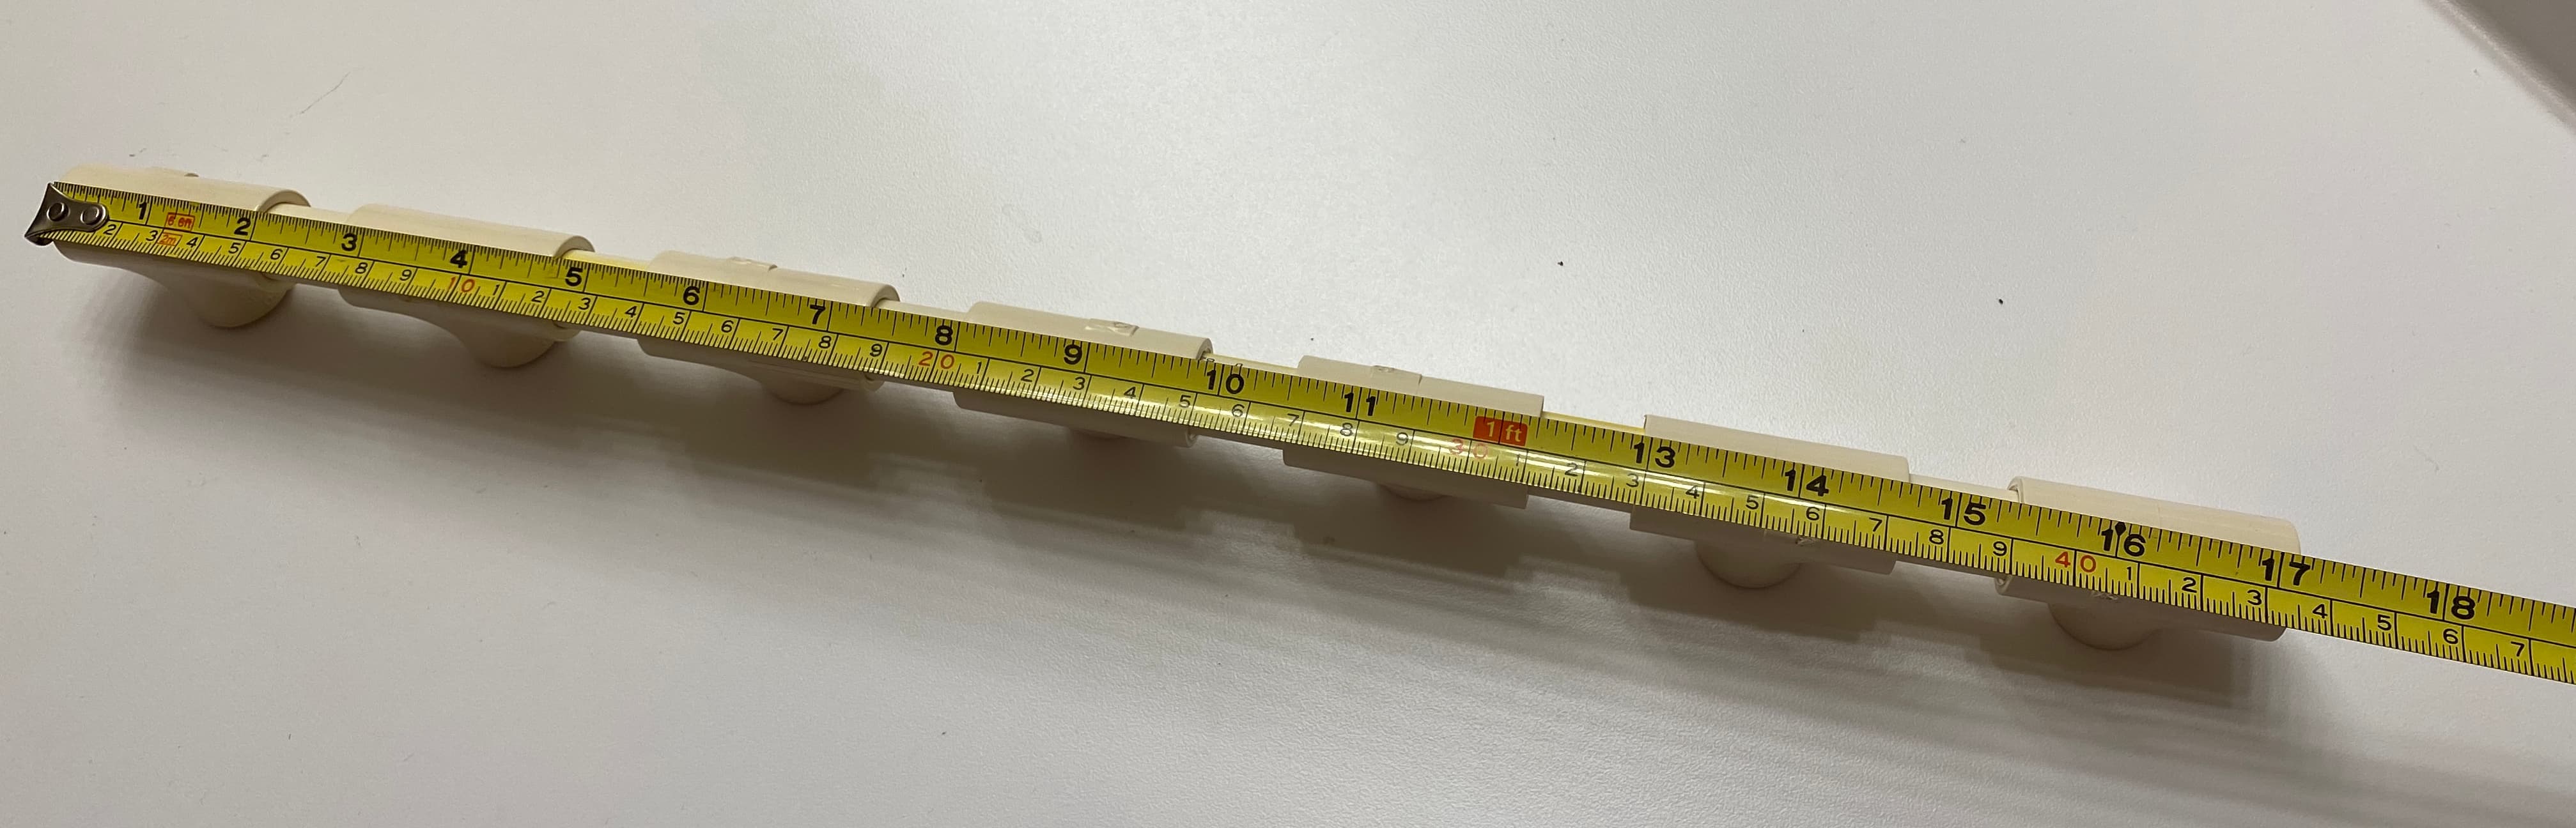
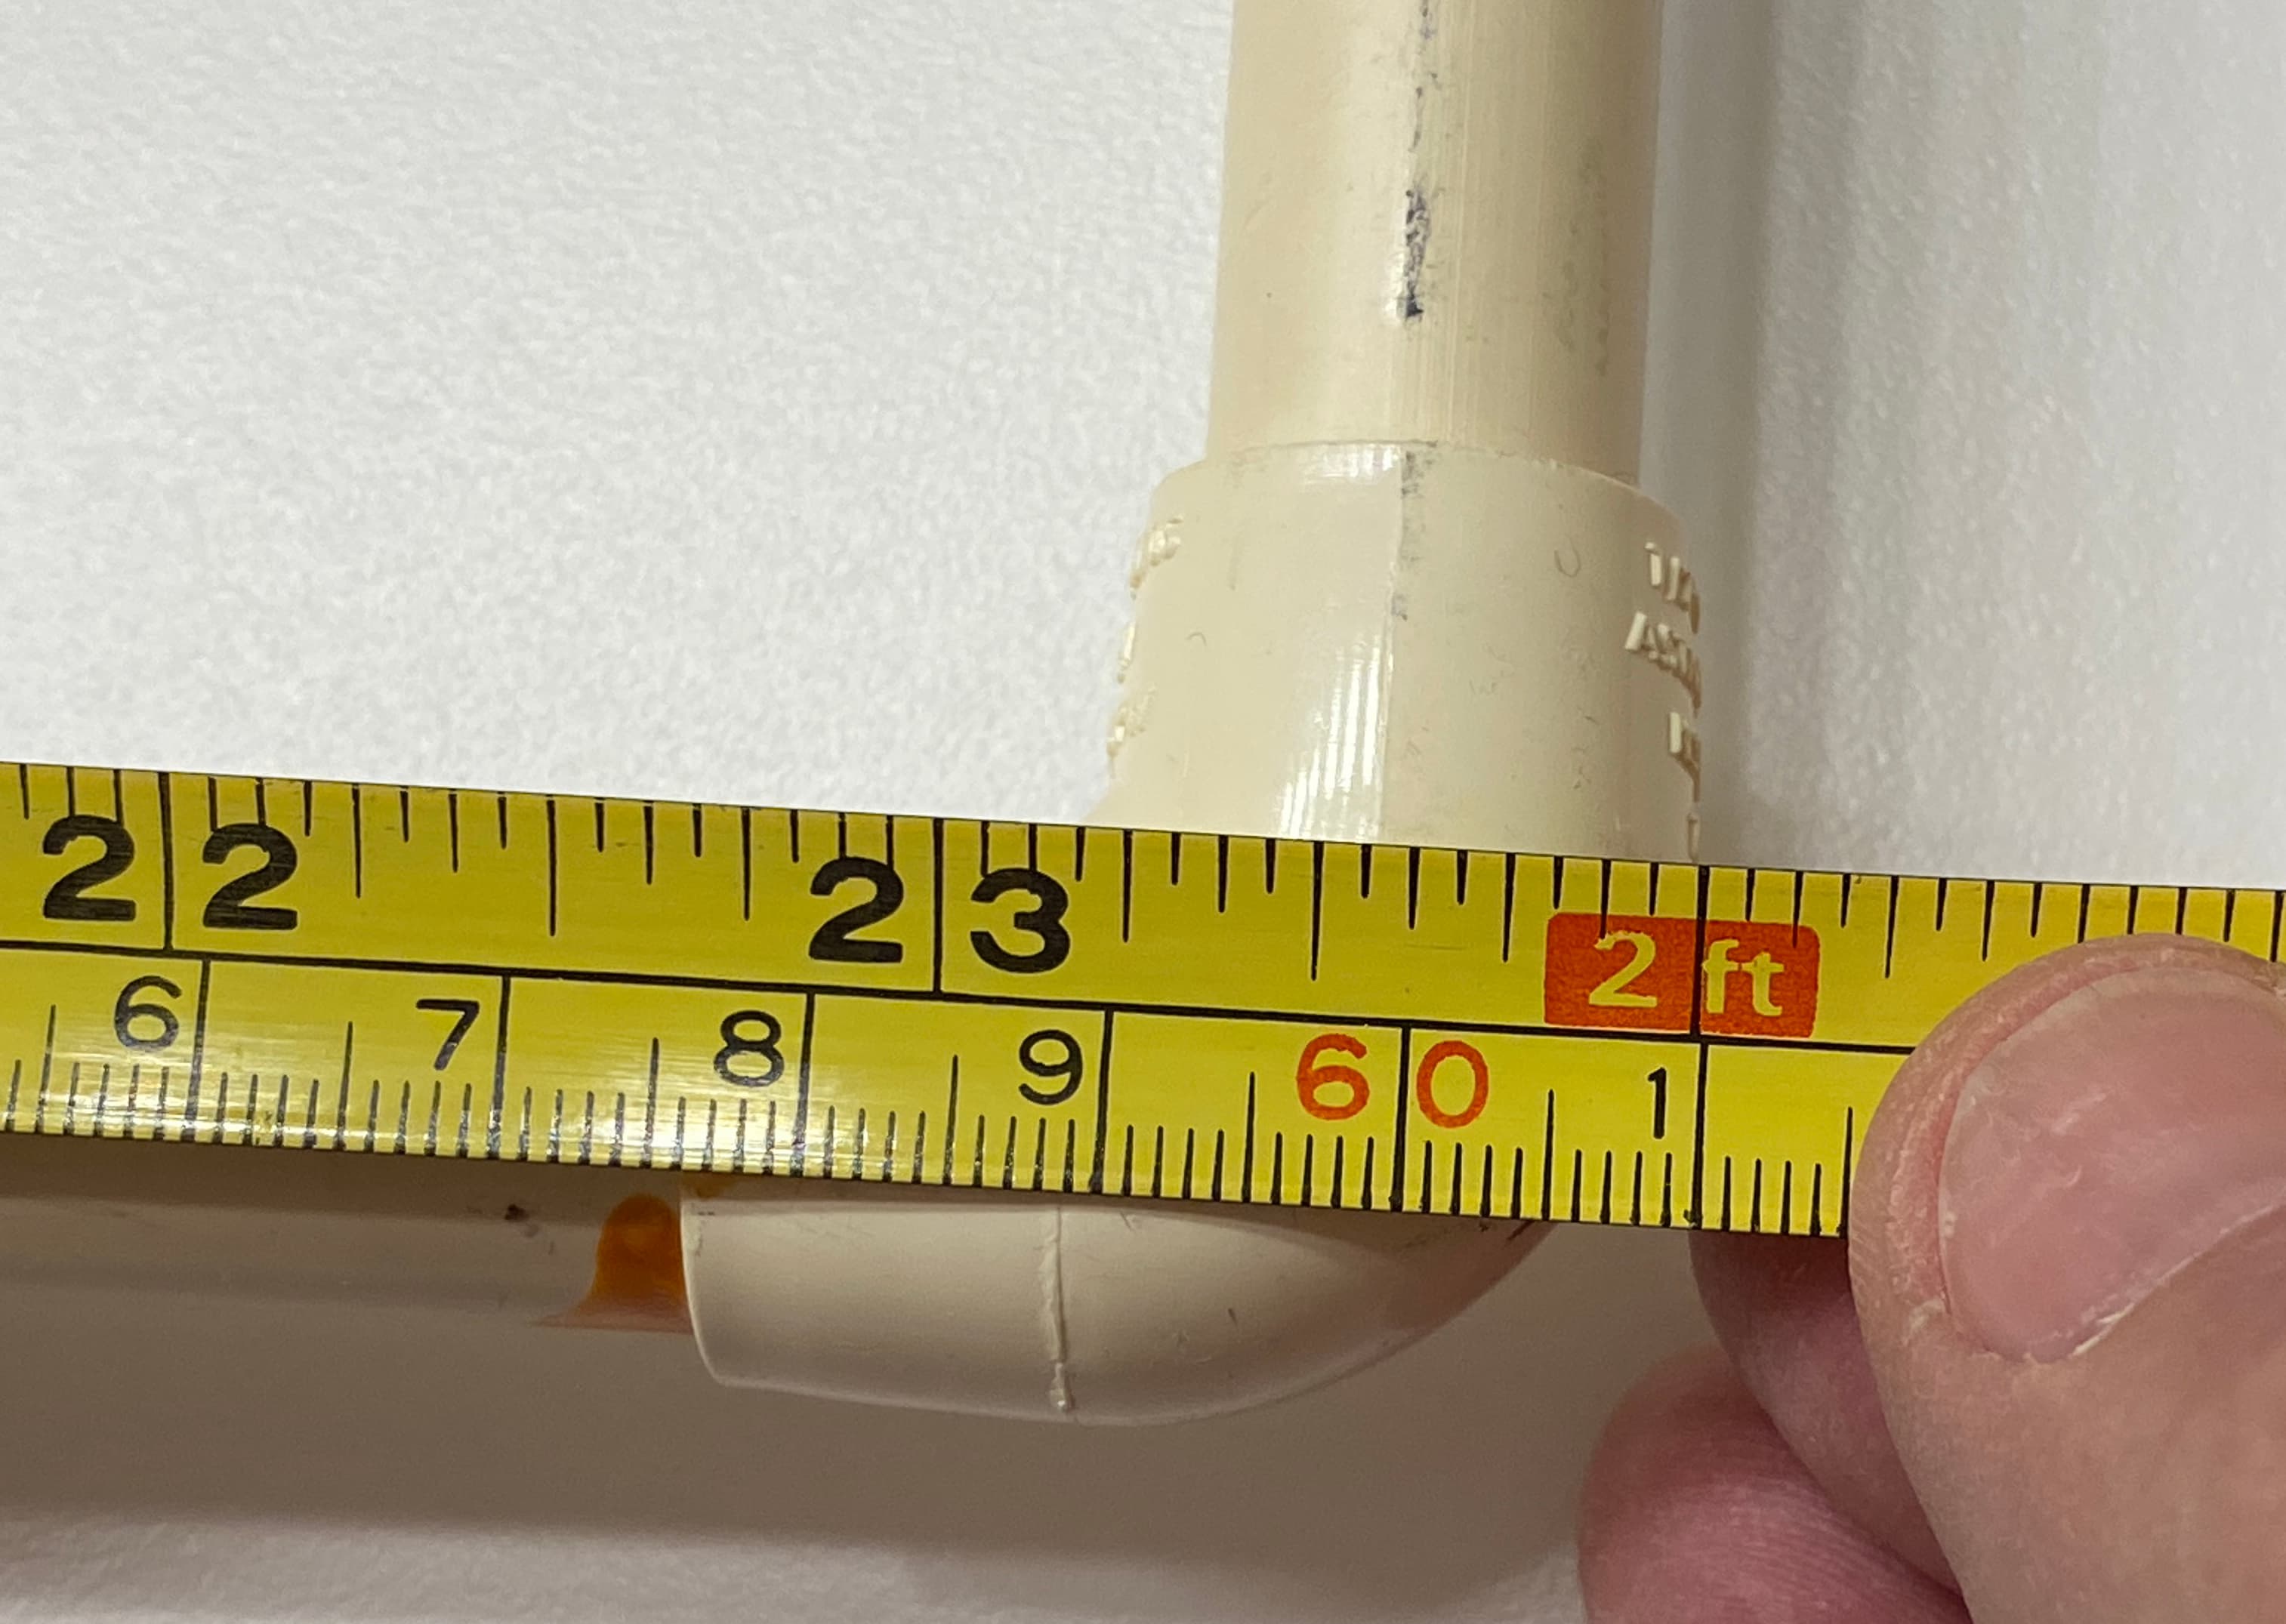
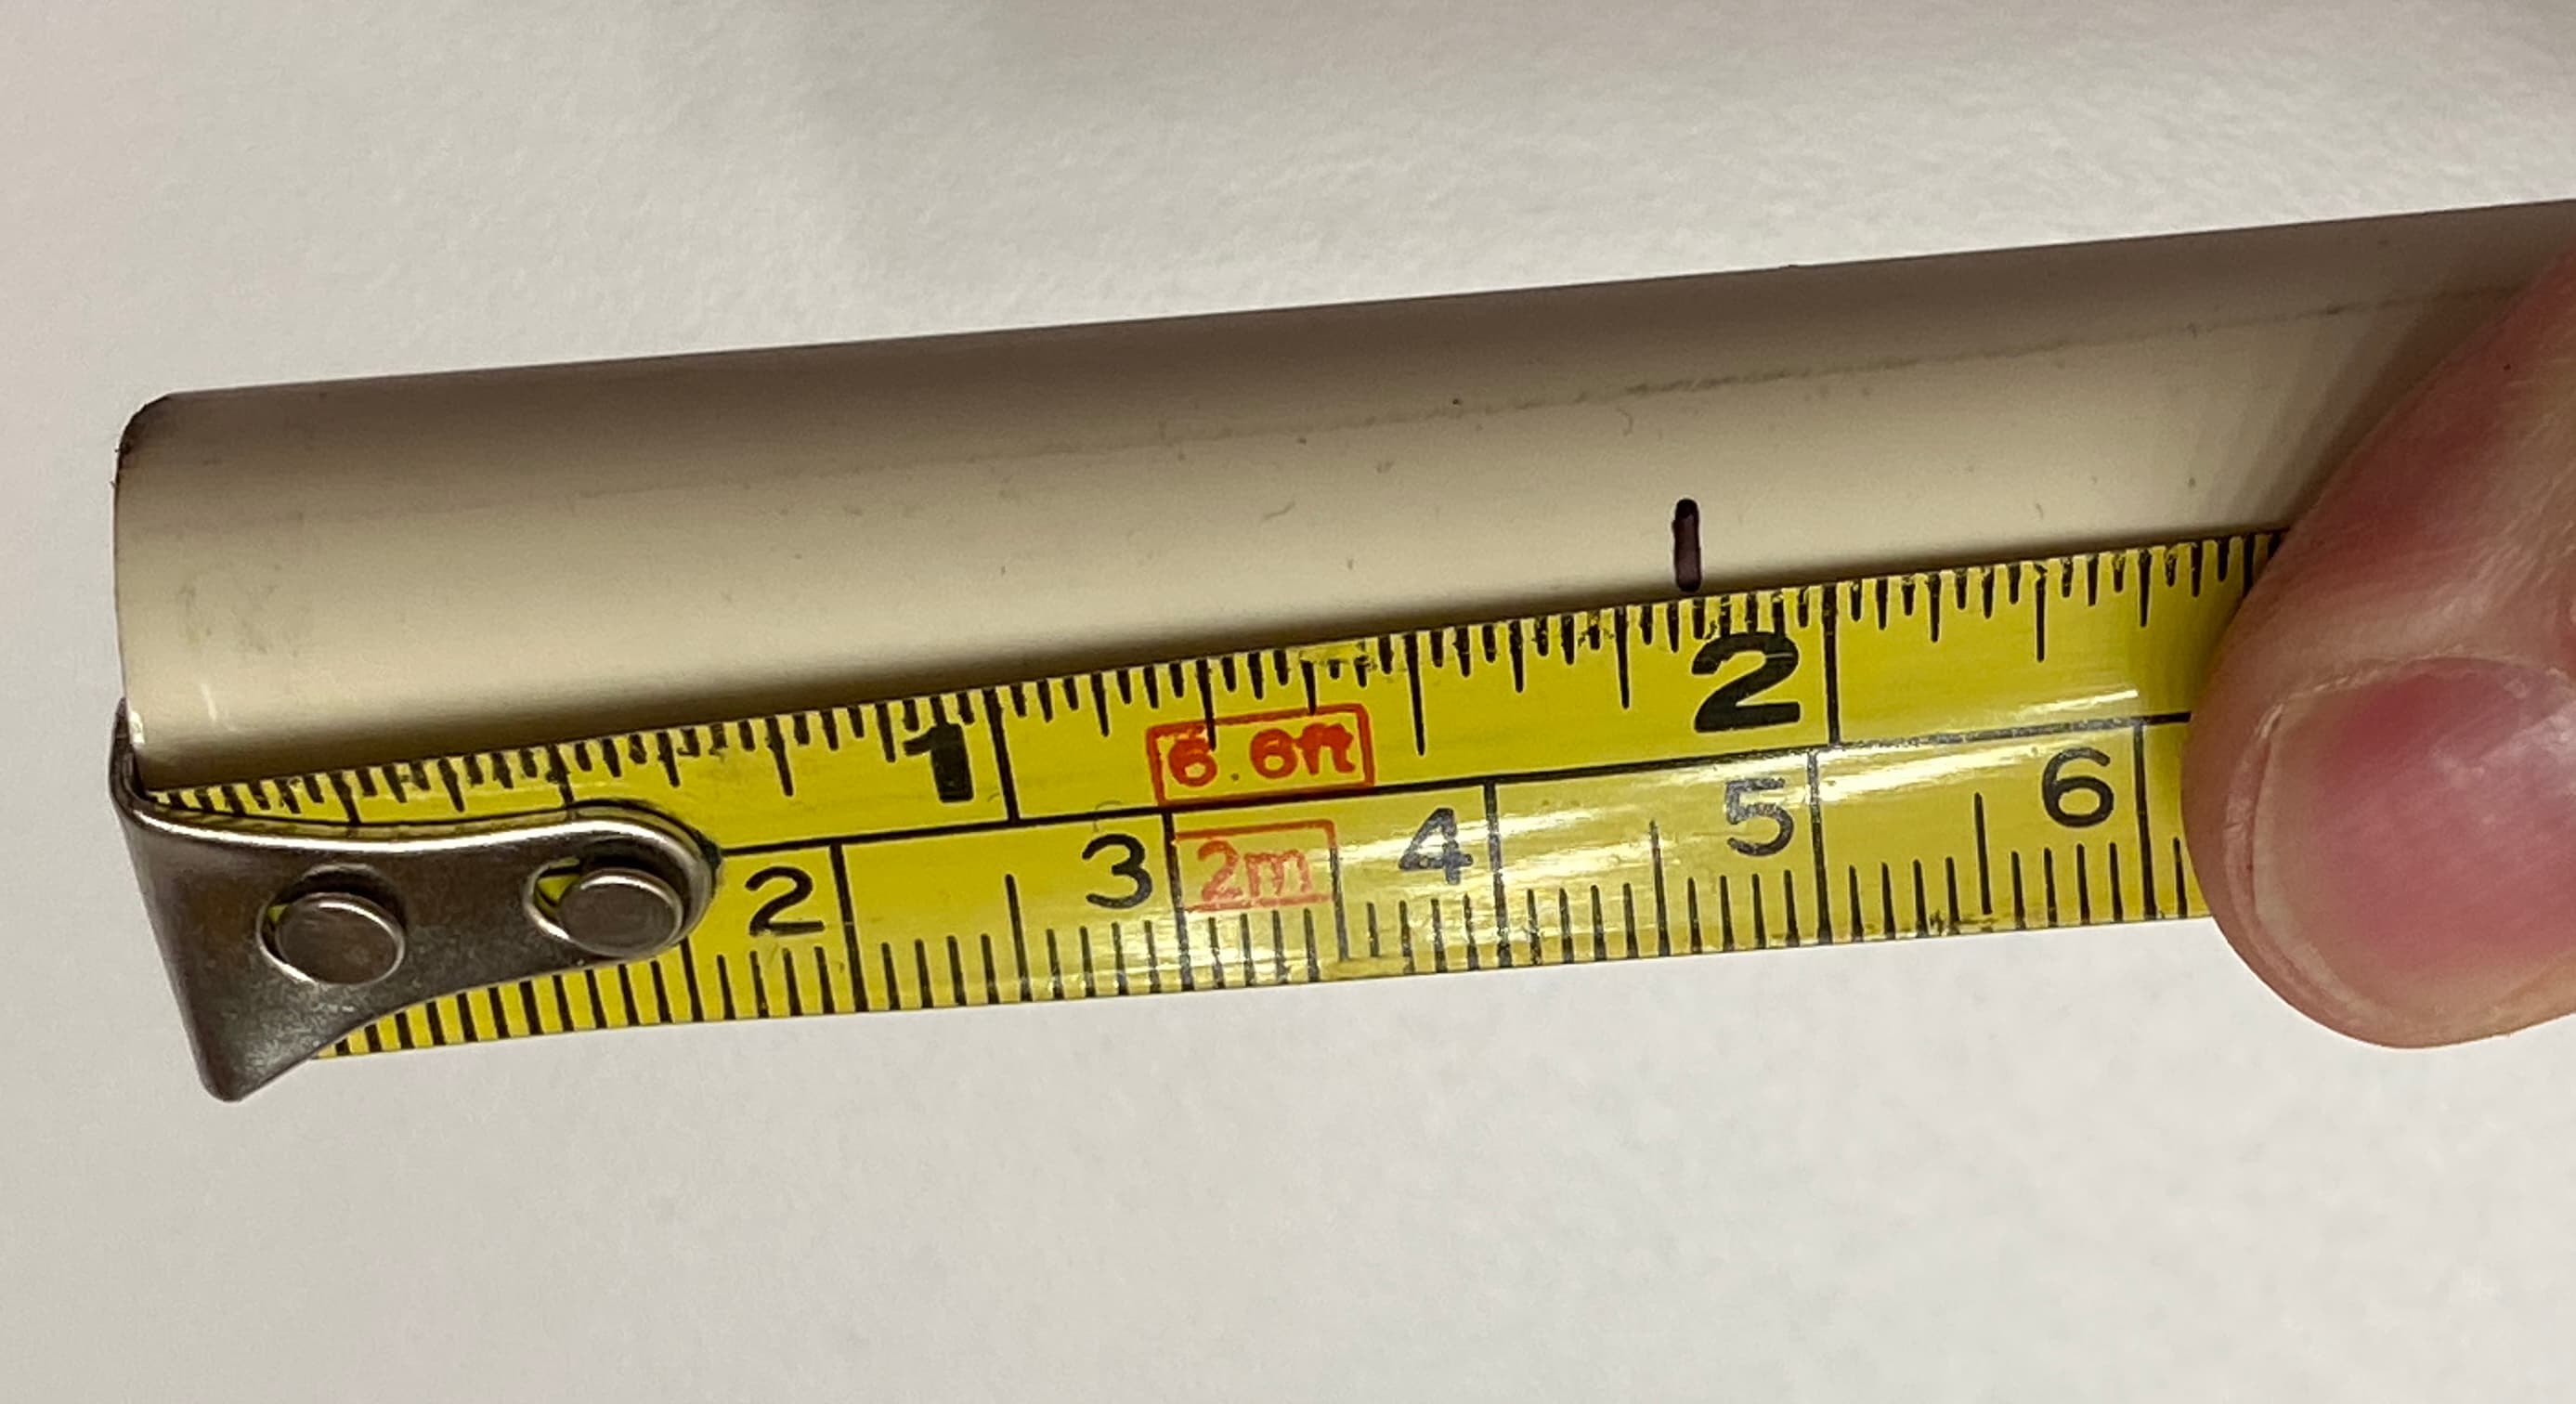
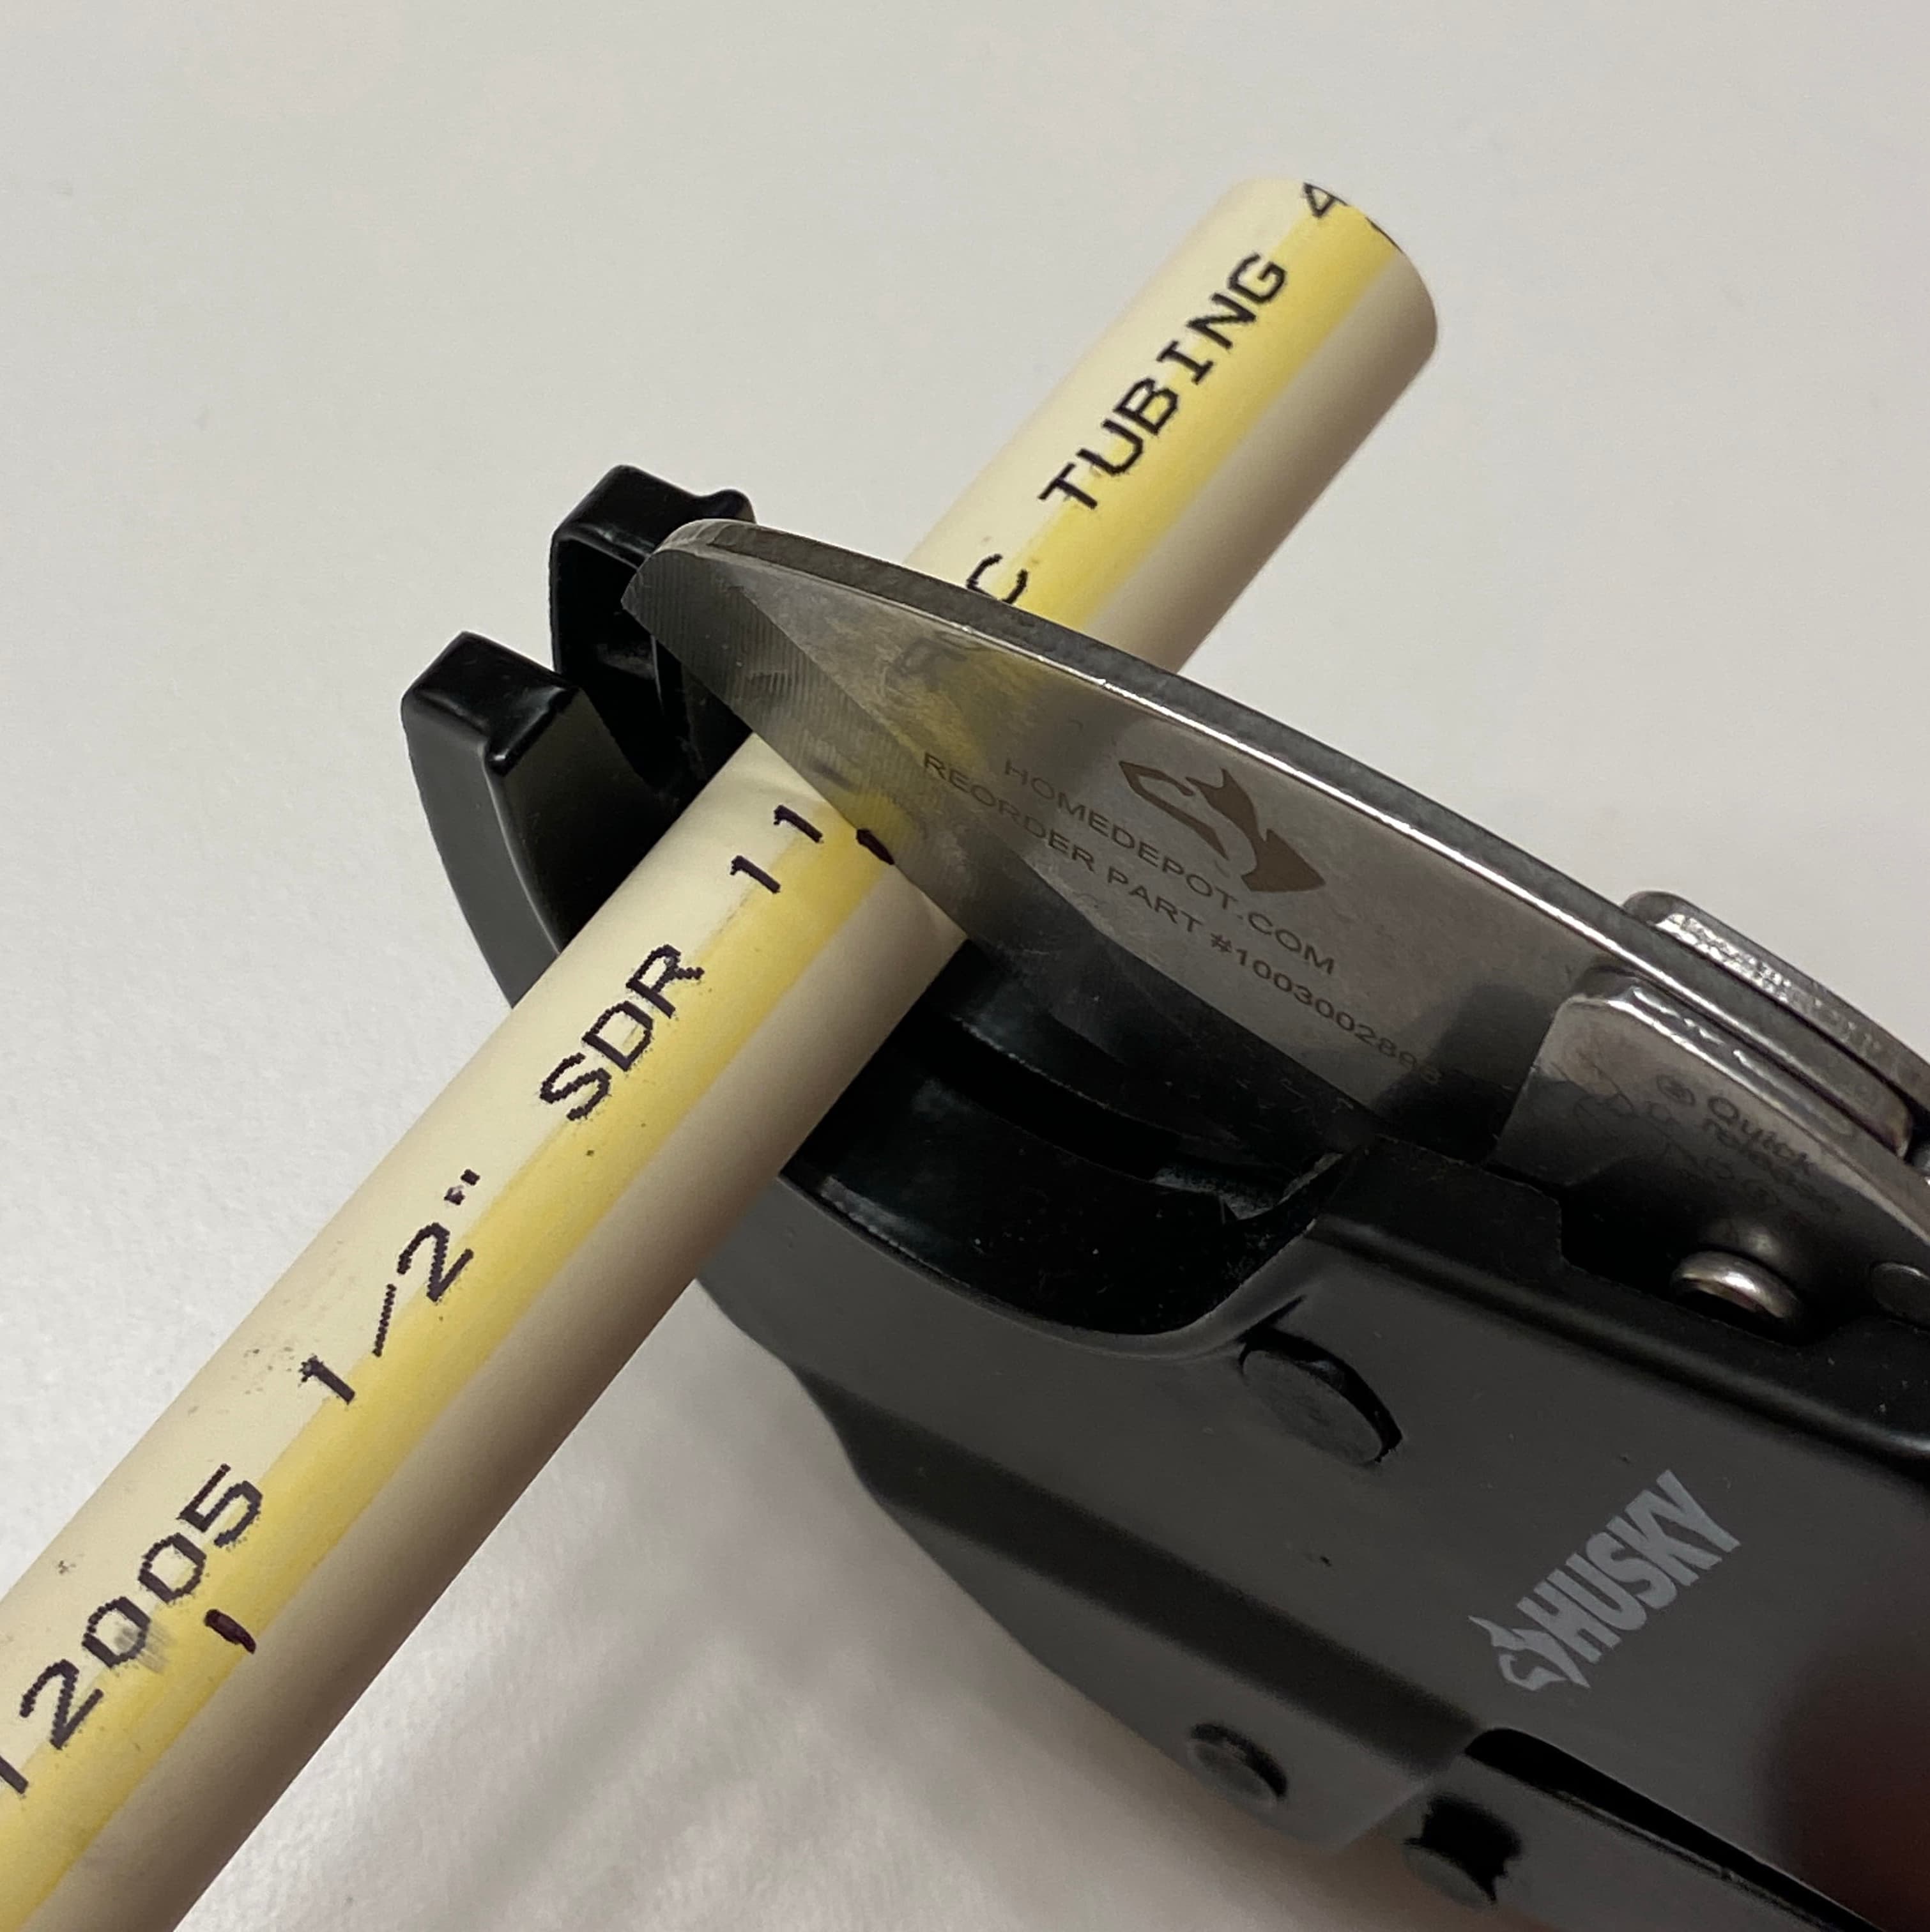
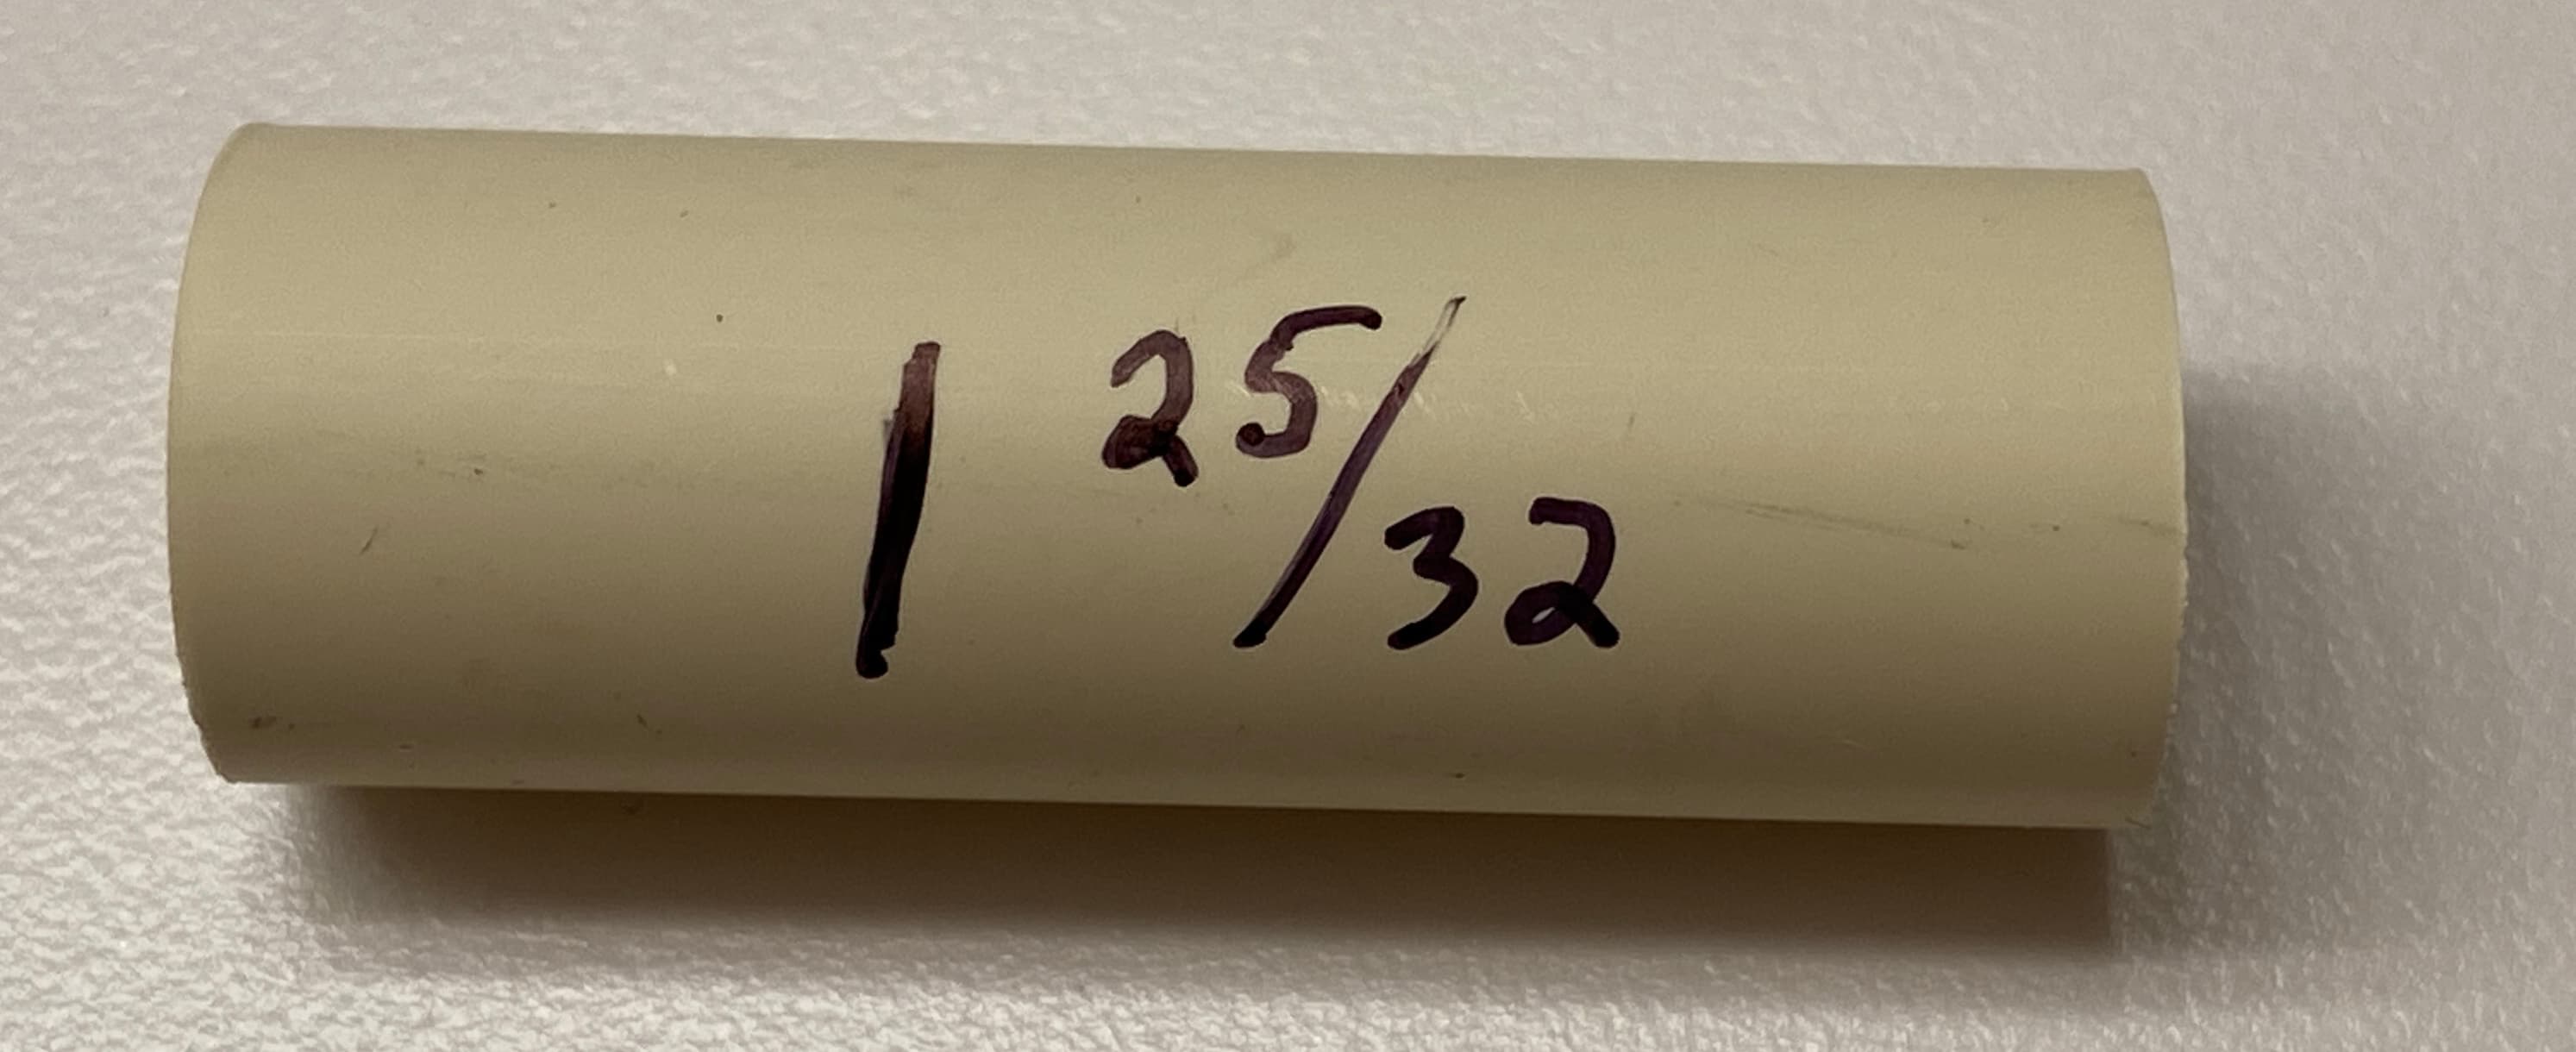
I can see that the finished length is 24 inches. I will add the width here later. I'm pretty sure the 1 and 25/32 piece is the vertical. I wish I had the interelement length measured. The first time I built these, I used a hacksaw. I much prefer the cutter that I got for the more recent set. I still chamfer the insides and outsides of the tubing with a little tool that I have here.
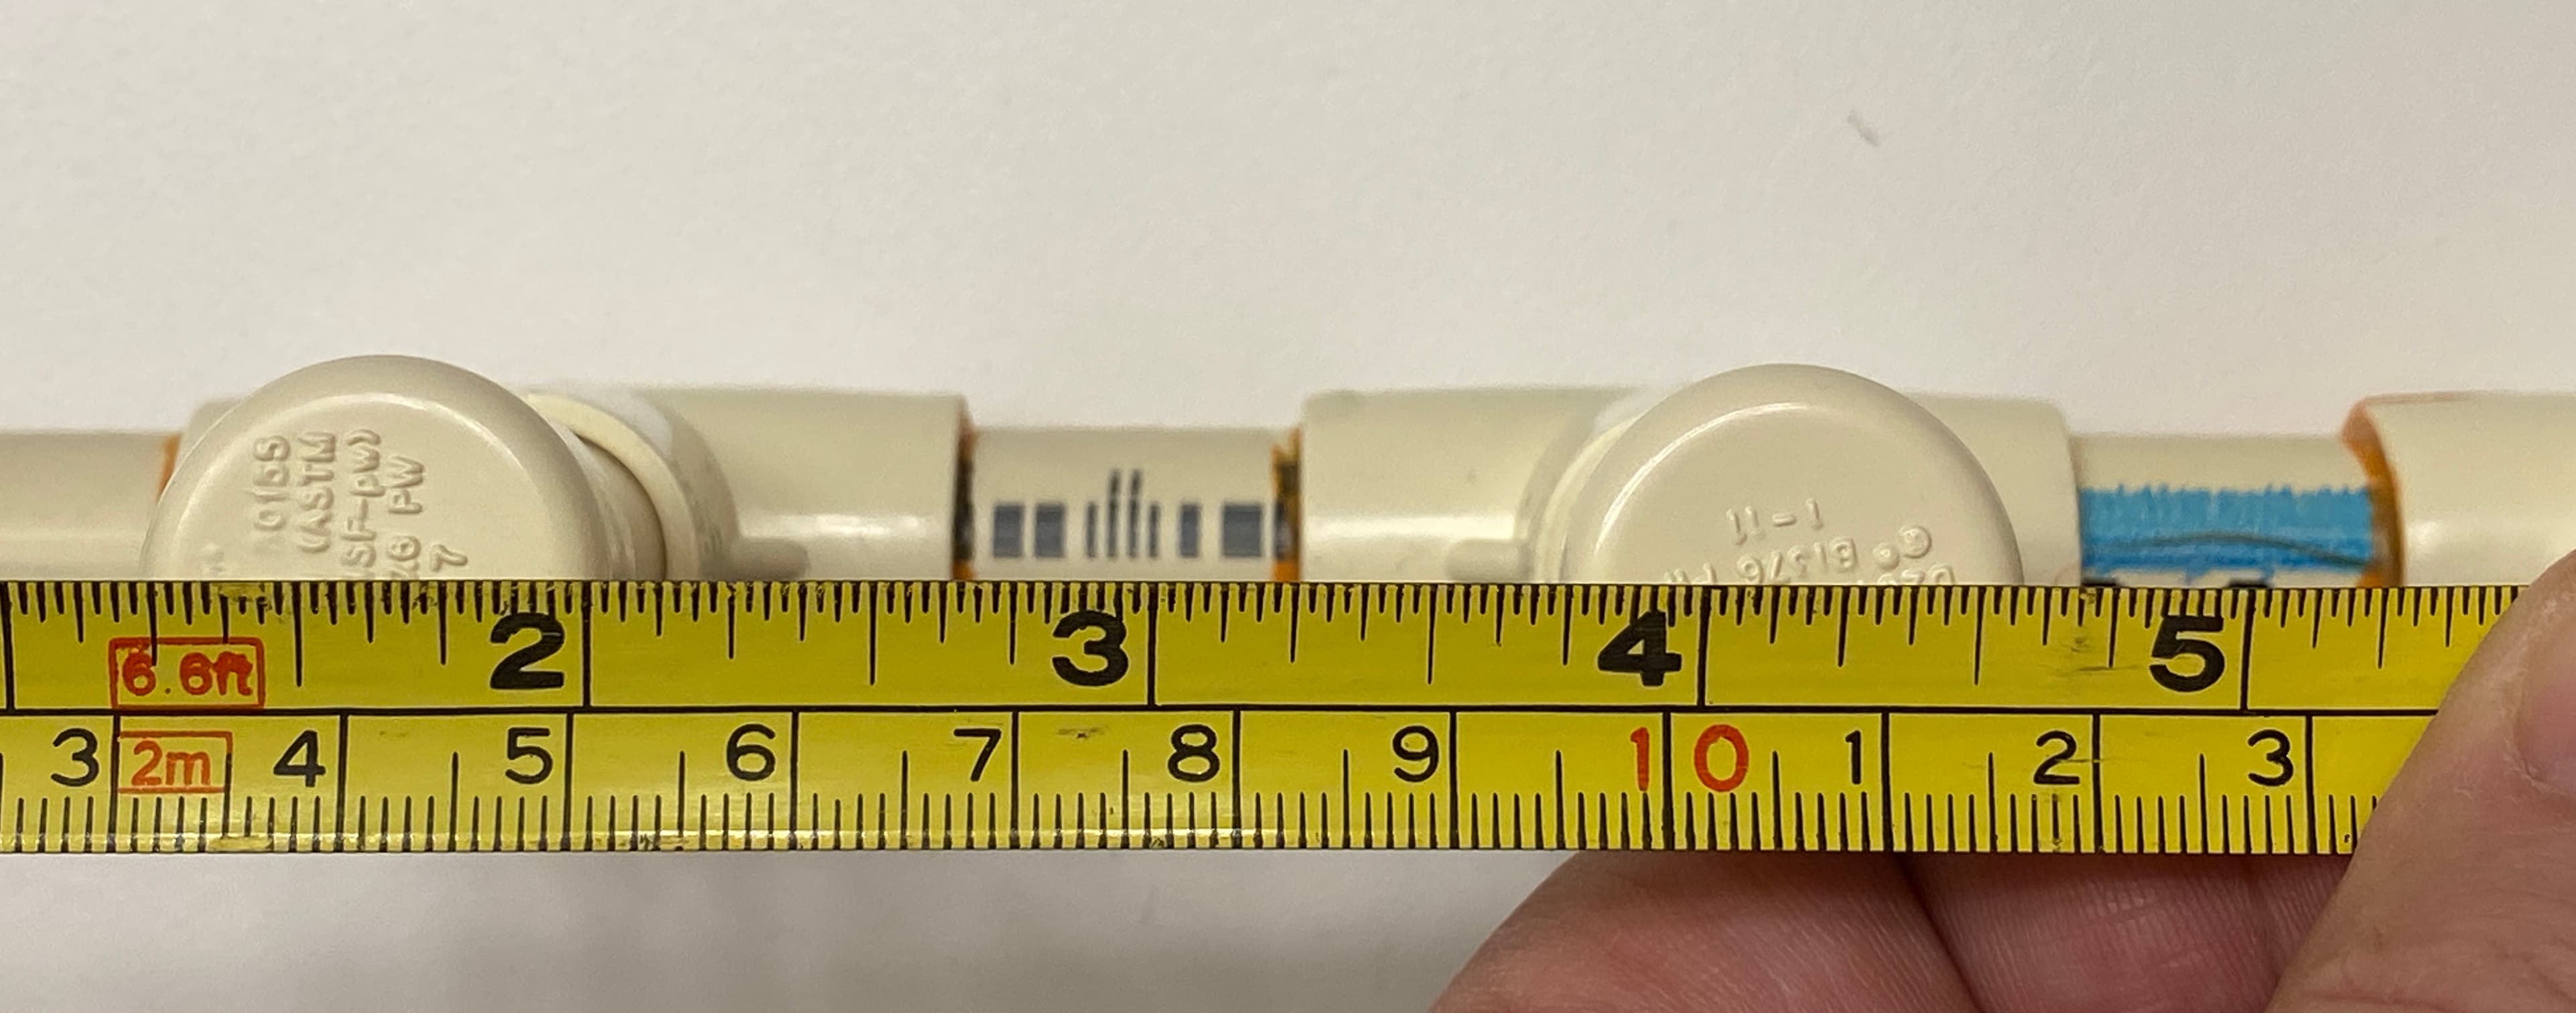
I think the picture of the 1 and 27/32 might be the interelement chunk that goes between tees.
 BOM (per frame):  14 caps
                    14 tees
                     4 90 degree corners